QuartzPro64 Development
A QuartzPro64 Development Wiki page before a QuartzPro64 Wiki page? It's more likely than you think!
This page will be used for both documenting the current development efforts and the board in general, as we don't know yet how a generally available QuartzPro64 will look like so documenting the dev board is probably best left to the development page.
Obtaining a Development Board
Register for a preorder: https://preorder.pine64.org/#/quartzpro64
Upstreaming Status
- Upstream Linux kernel DT: https://github.com/torvalds/linux/blob/master/arch/arm64/boot/dts/rockchip/rk3588-quartzpro64.dts
- Upstream U-Boot DT: https://github.com/u-boot/u-boot/blob/master/arch/arm/dts/rk3588-quartzpro64-u-boot.dtsi
| Function | Status | Component | Notes | ||
|---|---|---|---|---|---|
| Video Output | Needs porting | VOP2
|
Collabora said they'll work on this. The video output IP on the RK3588 should mostly be the same as the one on the RK356x, but the chip specific stuff will need to be integrated into the vop2 driver. | ||
| Video Input | Needs porting | rk_hdmirx
|
Huge 3600 line driver, but generally seems to be in good condition | ||
| 3D Acceleration | Needs writing | Needs writing | panfrost
|
Collabora said they'll work on this. New architecture, reportedly needs many changes to the kernel component of Panfrost. | |
| Video Decode | Needs writing | GStreamer only, no ffmpeg[1] | hantro using v4l2-requests
|
VDPU121 handling 1080p60 H.263/MPEG-4, MPEG-1 and MPEG-2 | |
| Needs writing | rkvdec2 using v4l2-requests
|
Nobody is known to be working on this for now. VDPU346 handling 8K60 H.265, H.264, VP9 and AVS | |||
| Needs writing | rkdjpeg using v4l2-requests
|
User:CounterPillow is doing a little work on this. VDPU720 handling JPEG | |||
| In review[2] | hantro using v4l2-requests
|
Collabora is working on this. VDPU981 handling 4K60 AV1 | |||
| Video Encode | Needs writing | GStreamer only | JPEG on VEPU121 | Driver already exists, only minor changes needed. | |
| Needs writing | ? | H.264 on VEPU580 | |||
| Needs writing | ? | H.265 on VEPU580 | |||
| Audio | Linux Mainline | rockchip-i2s-tdm
|
As of 6.2[3] | ||
| Linux Mainline | es8388 CODEC
|
||||
| CRU | Linux Mainline | clk-rk3588
|
As of 6.2[4] | ||
| MMC | Linux Mainline | sdhci-of-dwcmshc
|
As of 5.19[5] | ||
| pinctrl | Linux Mainline | pinctrl-rockchip
|
As of 5.19[6] | ||
| GPIO | Linux Mainline | rockchip-gpio
|
As of 6.1[7] | ||
| I2C | Linux Mainline | rk3x-i2c
|
Should be the same as RK3399, just needs devicetree work | ||
| SPI | Linux Mainline | rockchip-spi
|
Should be the same as previous SoCs, just needs devicetree work | ||
| PMU | In review[8] | rk806
|
Talks over SPI | ||
| Regulators | Needs porting | rk860
|
Talks over I2C | ||
| GMAC | Linux Mainline | dwmac-rk
|
As of 6.1[9] | ||
| Power Domains | Linux Mainline | rockchip-pm-domain
|
As of 6.1[10] | ||
| CAN | Needs porting | rockchip_canfd
|
Not broken out on the QuartzPro64, so we probably won't be the ones porting it | ||
| SPDIF TX | May need porting | rockchip-spdif
|
Genuinely just needs the compatible string added, I think, otherwise we're all good. Not broken out on QuartzPro64 dev board | ||
| SPDIF RX | Needs porting | rockchip-spdifrx
|
Not broken out on QuartzPro64 dev board | ||
| PCIe | May need porting | rockchip-dw-pcie
|
Downstream driver and upstream are quite different, look into how much work actually needs doing. Seems to be the same controller as rk3568 so maybe none? | ||
| NPU | Needs porting/writing | ? | rockchip-rknpu
| ||
| USB 2.0 | In review[11] | phy-rockchip-inno-usb2
|
There's probably more to USB 2 than just the PHY but this is what I found for now | ||
| USB 3.0 | ? | ?
|
|||
| SATA | Linux Mainline | ahci-dwc
|
Just needs the compatible added to the bindings, done in [12] | ||
| Thermal | In review[13] | rockchip-thermal
|
|||
| Wifi & Bluetooth | ? | ?
|
|||
| HWRNG | Needs porting | rockchip-rng
|
The code & DT work is easy to port & working | ||
| RTC | Linux Mainline | hym8563
|
Should only need DT work (see here for an example) | ||
| OTP | In review[14] | rockchip-otp
|
|||
| SARADC | In review[15] | rockchip_saradc
|
|||
Hardware
General
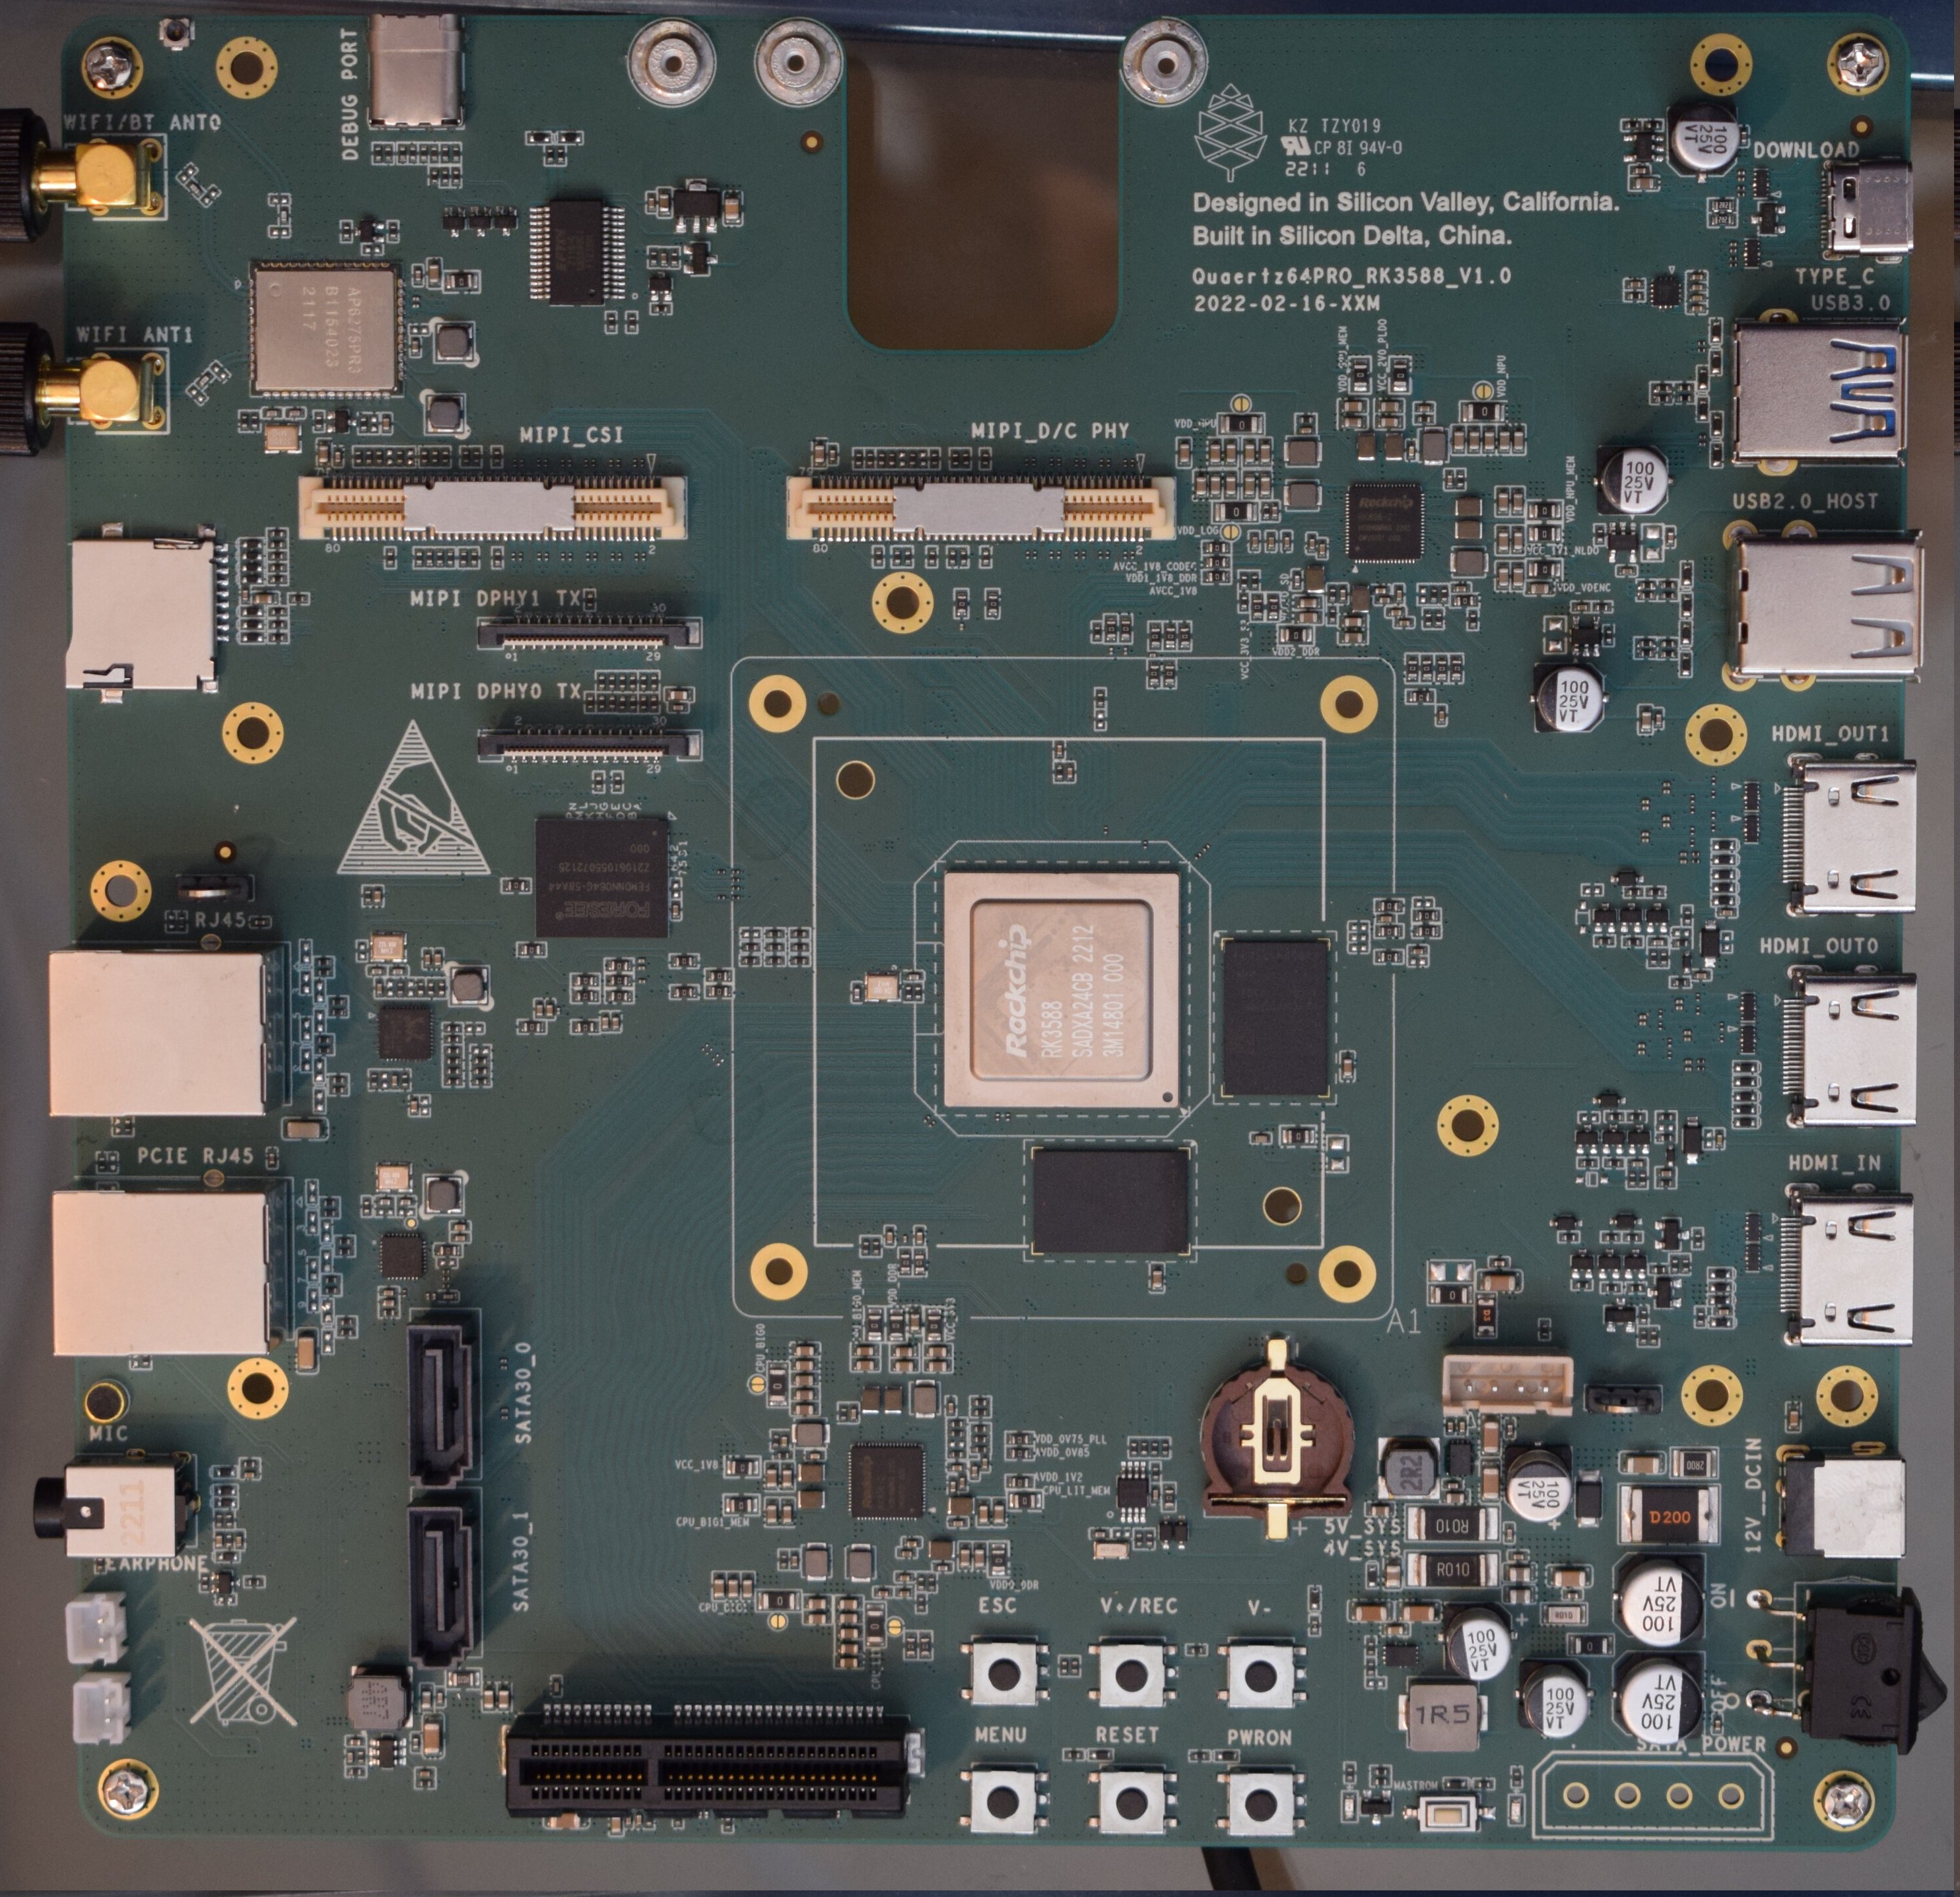
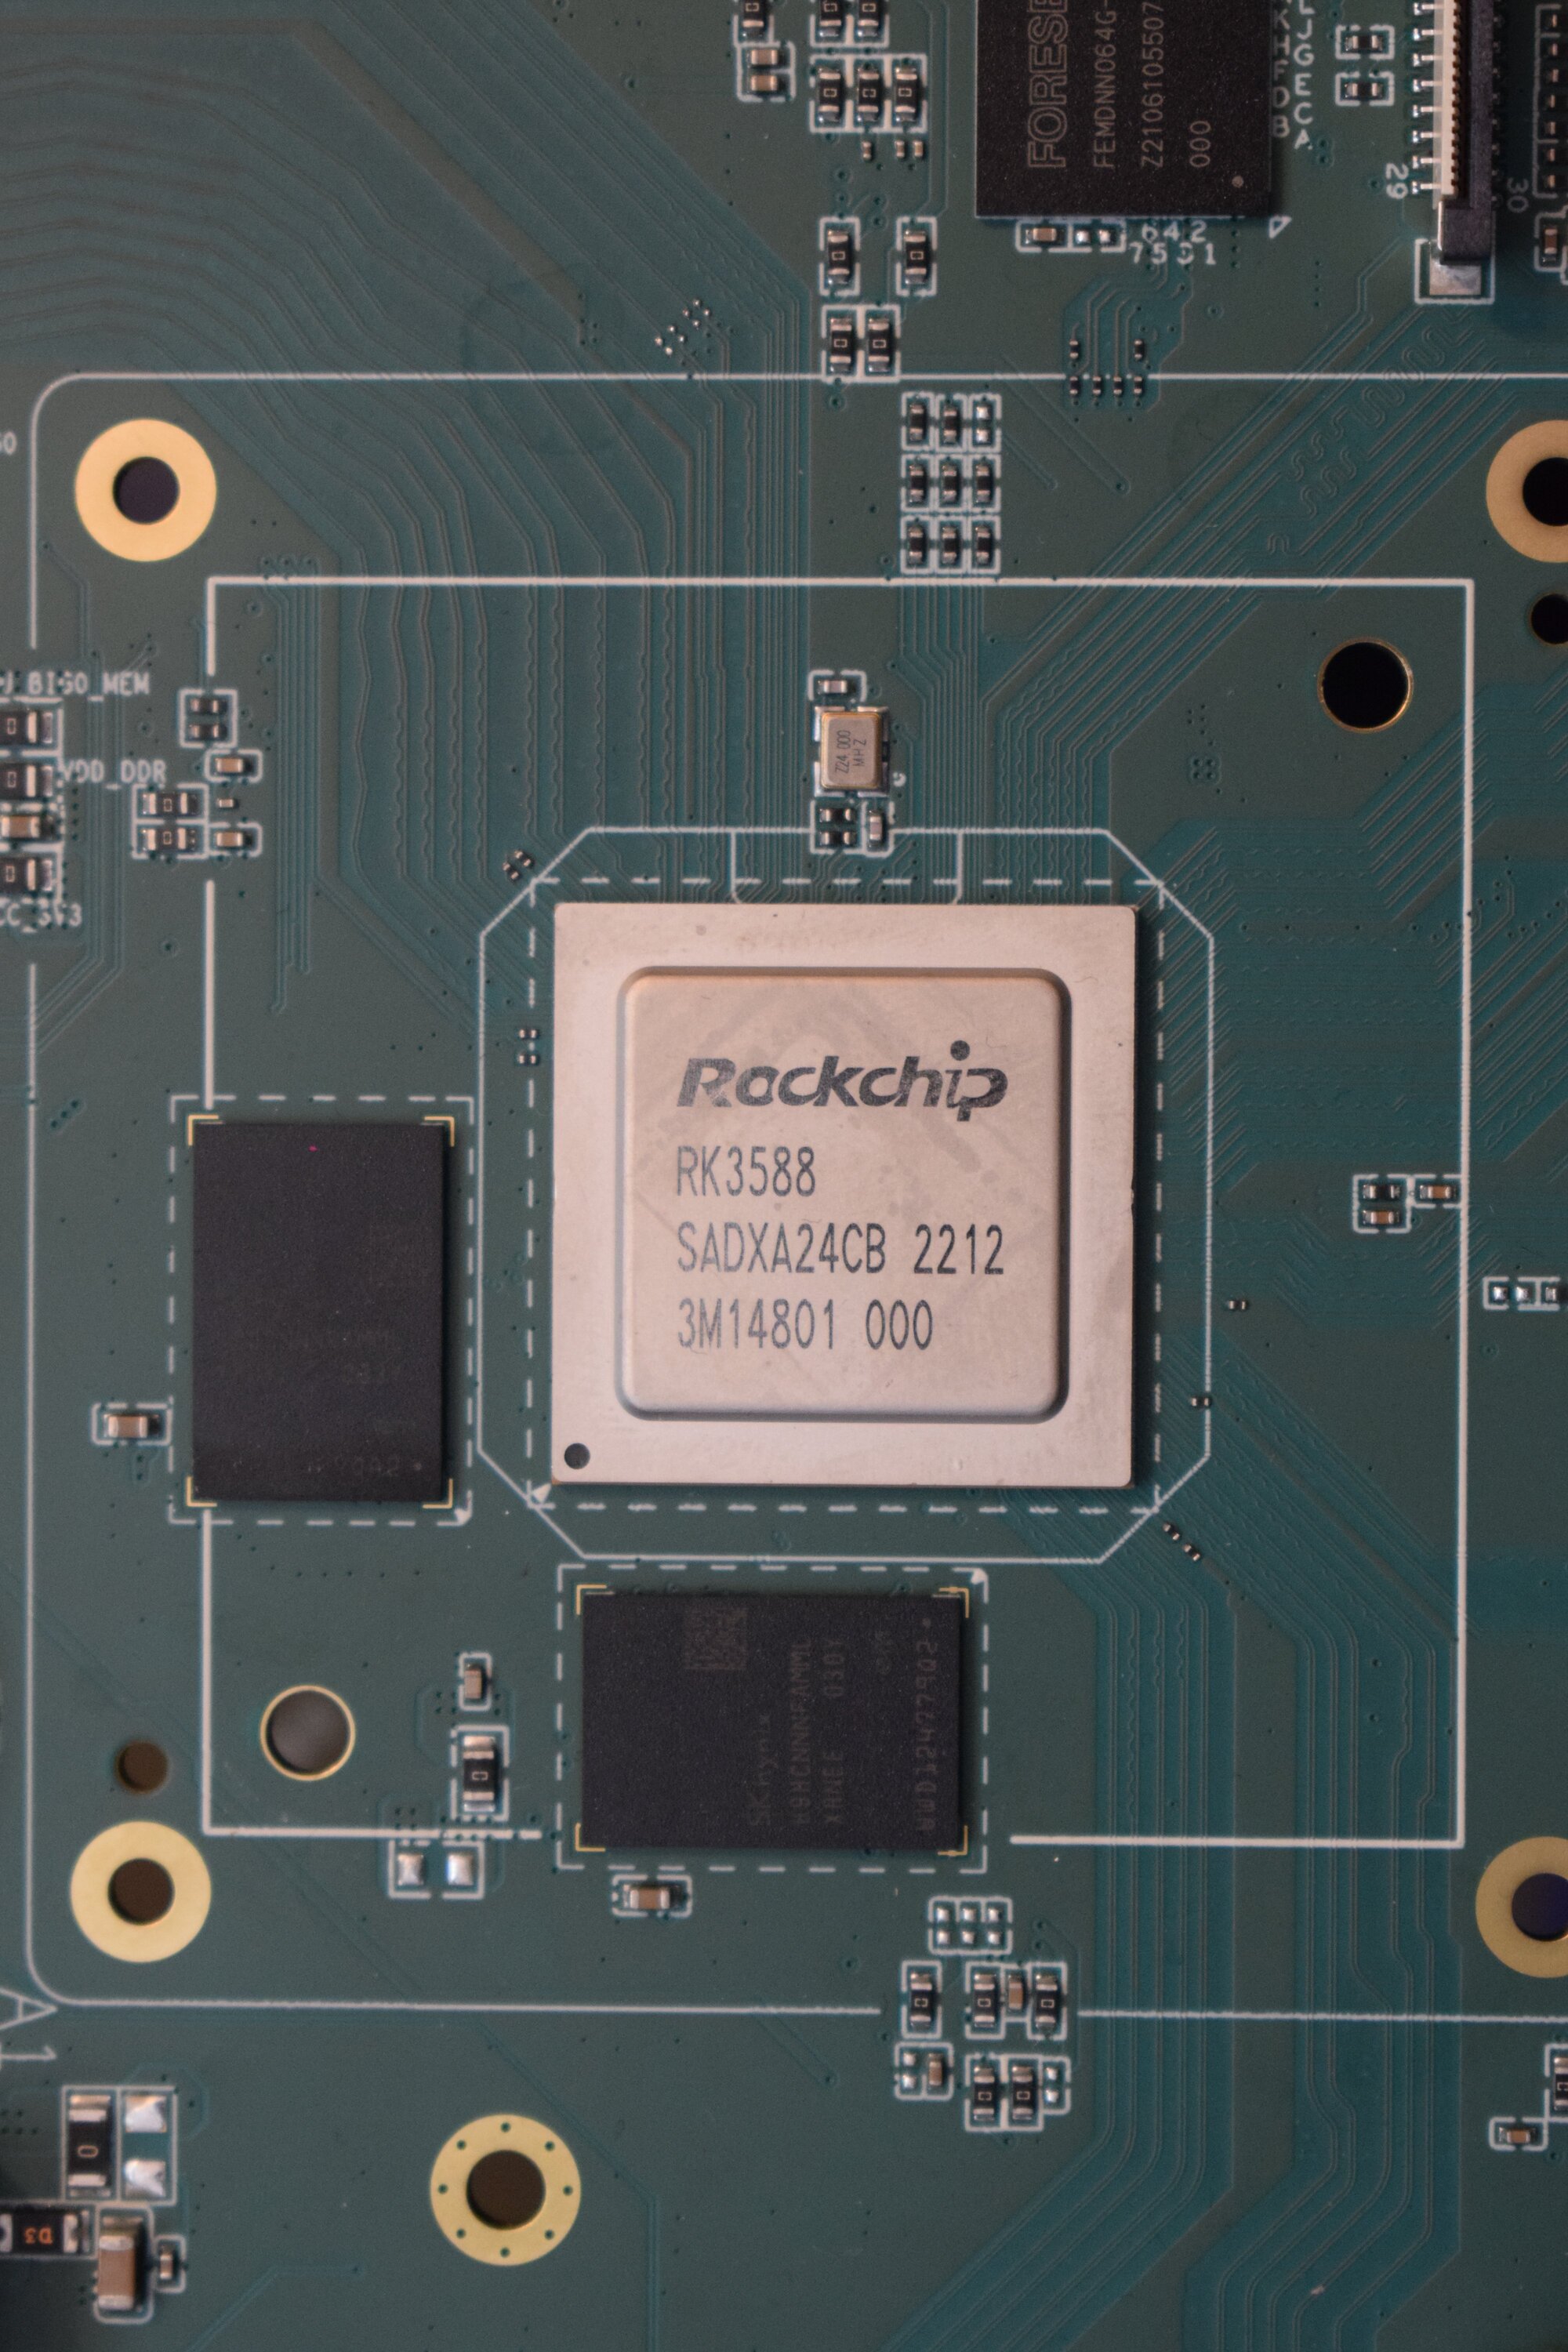
- RK3588 SoC (8 cores: 4x A76 at 2.4 GHz + 4x A55 at 1.8 GHz)
- Mali G610MC4 GPU (4x Valhalla cores)
- 16 GB of LPDDR4X (SK hynix)
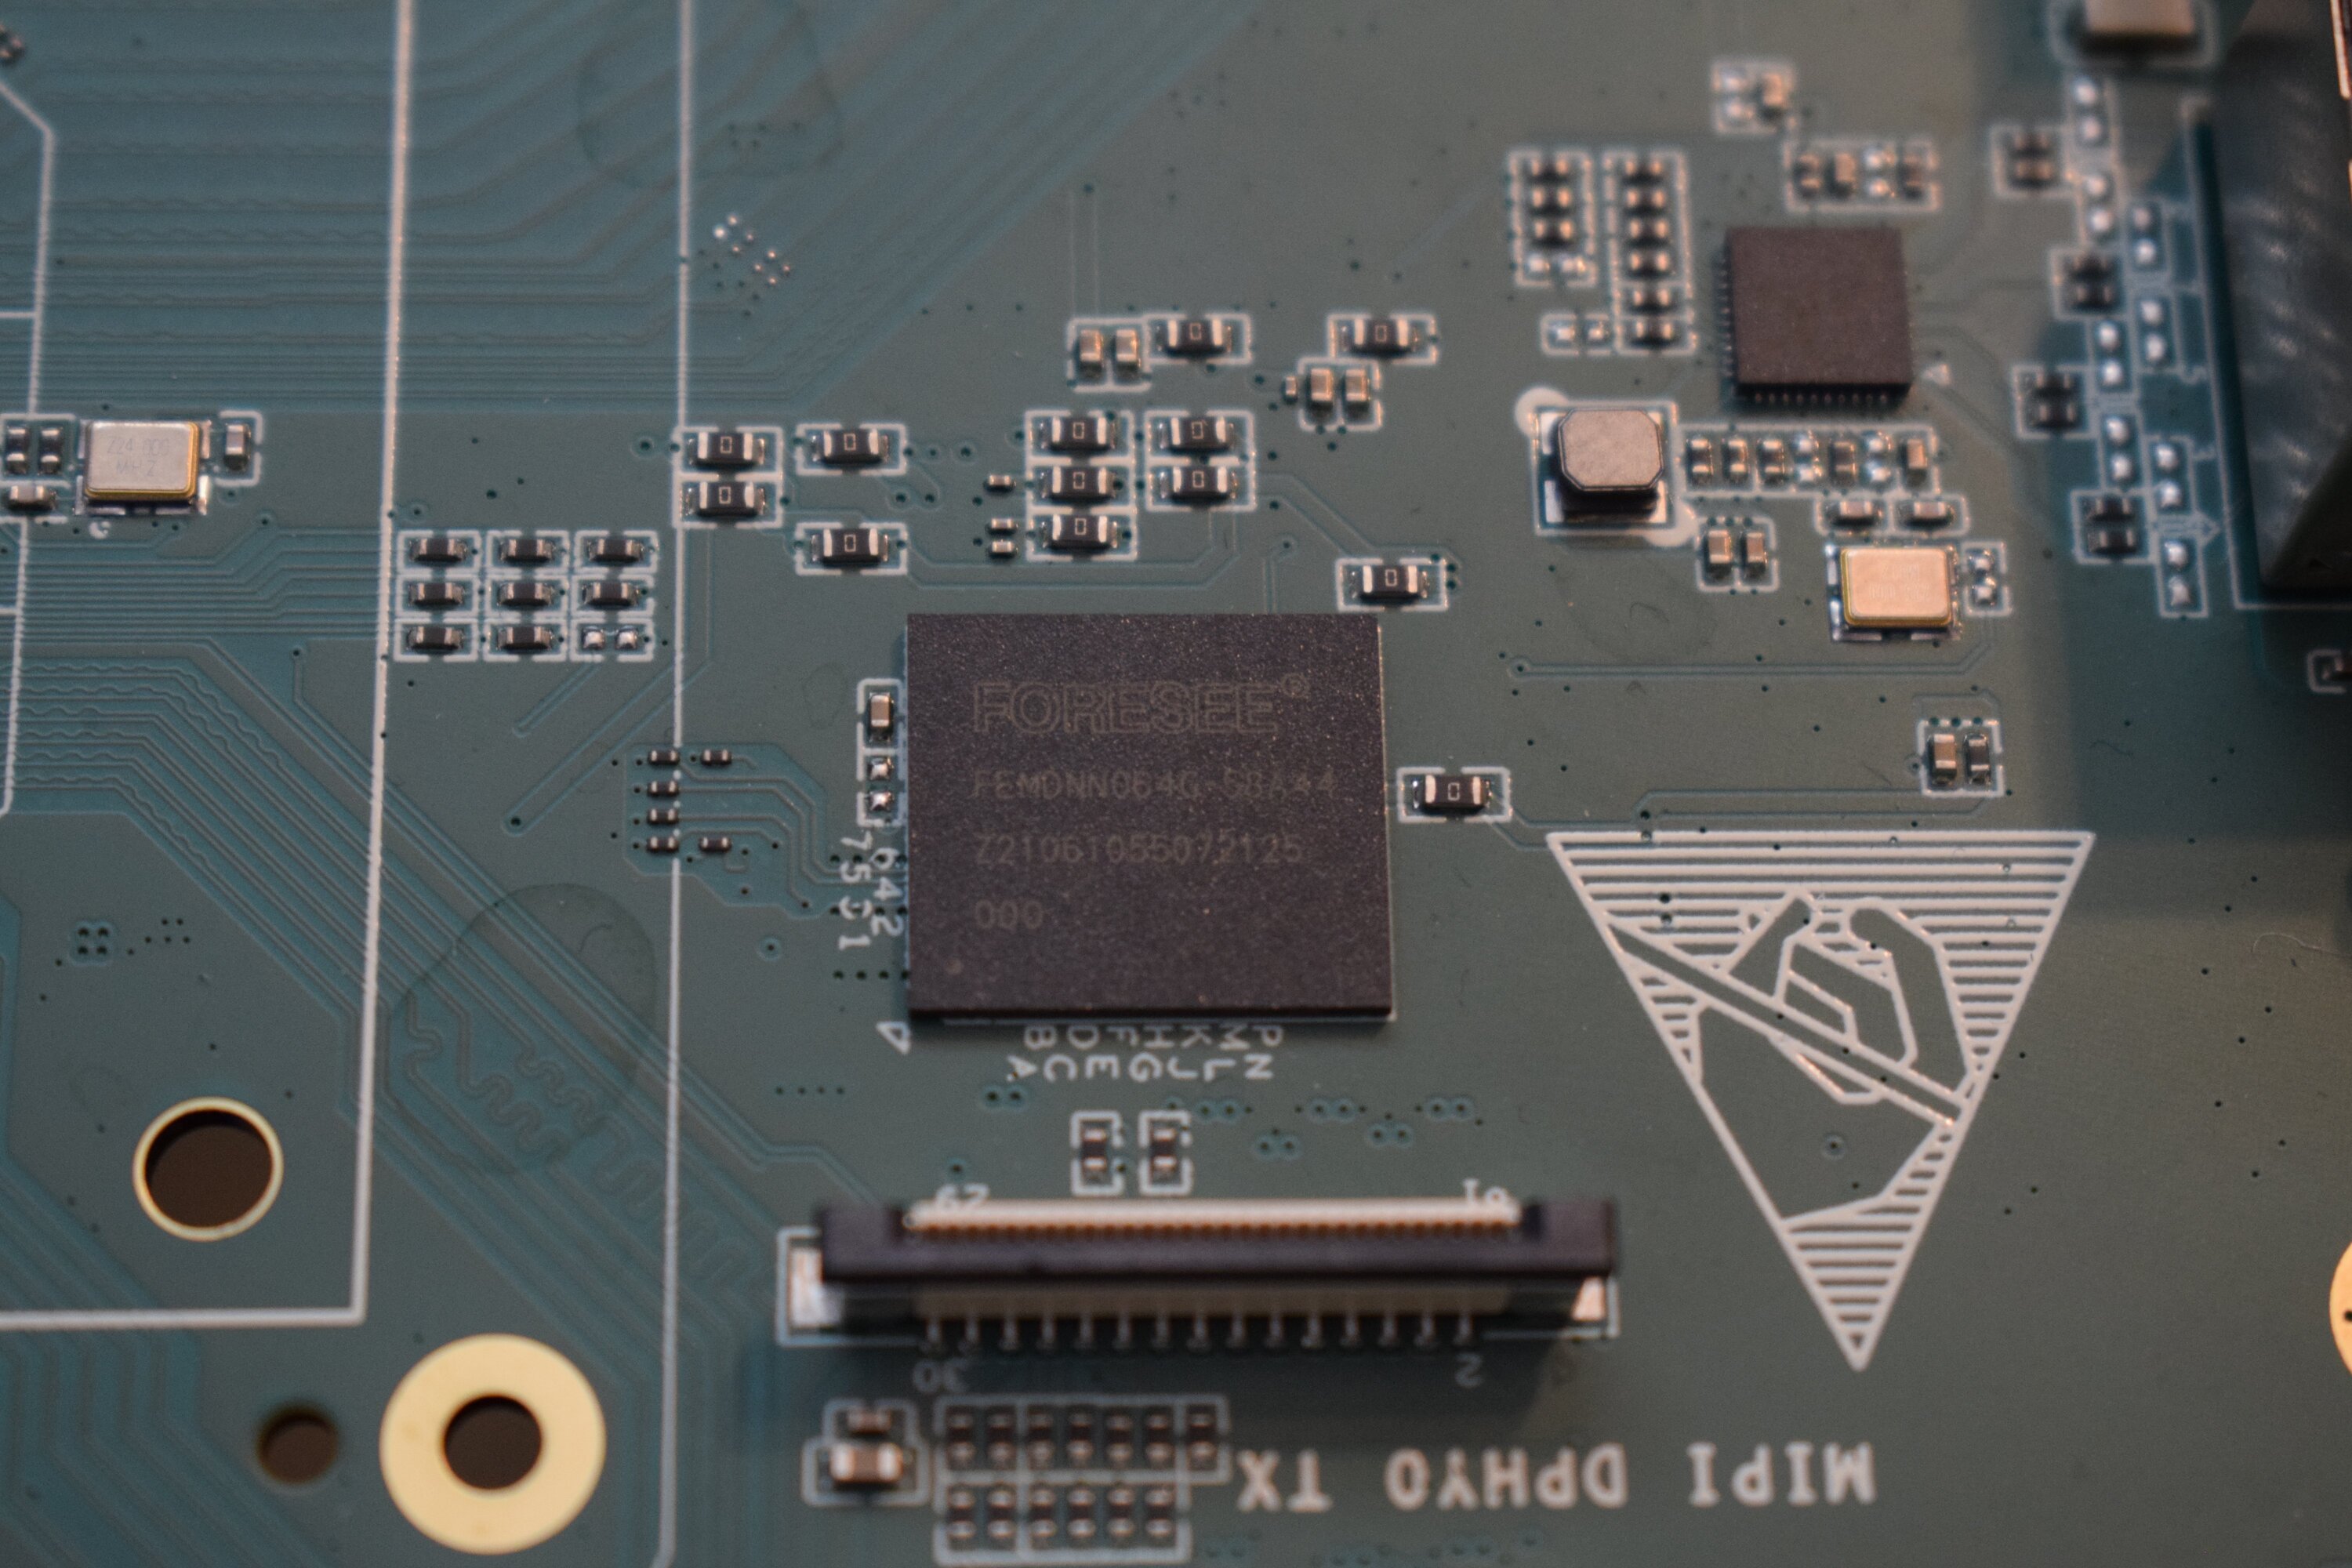
- 64 GB eMMC (Foresee, soldered)
- 1x USB-C (with video-alt mode)
- 1x USB-C (FTDI debug UART, FT232RL)
- 1x USB 3.0
- 2x USB 2.0
- 1x HDMI in
- 2x HDMI out
- 1x PCIe 3.0 slot (open-ended)
- 1x SD / TF card slot
- 2x SATA ports
- 2x Gigabit Ethernet (1x from SoC, 1x on PCIe, RTL8211F, RTL8111HS)
- 1x WiFi & Bluetooth module (AMPAK Tech AP6275PR3)
- 2x SMA Antenna
- 2x MIPI DPHY
- 1x MIPI D/C PHY
- 1x MIPI CSI
- 1x PWM Fan header (four pins)
- 1x RTC battery socket (CR1220, 3 V, see QuartzPro64 board schematics PDF, page 21)
- 1x MIC (soldered)
- 1x audio output 3.5 mm jack
- DC 12 V power input
Cooler
The board comes with two cooler mounts, a 4-hole mount that appears to be spaced 55x55mm apart, and the ~60mm diagonal "northbridge heatsink" mount the ROCKPro64 and Quartz64 Model A uses.
RK3588 is slightly (<1mm?) taller than the DRAM chips, use a thick enough thermal pad instead of thermal compound.
UART
Plug in the USB-C port labelled "DEBUG PORT" on the QP64 board to another computer with a USB-A-to-C cable.
It will show up as a FT232 USB Serial adapter in lsusb:
$ lsusb
[...]
Bus 005 Device 027: ID 0403:6001 Future Technology Devices International, Ltd FT232 Serial (UART) IC
[...]
Baud rate is 1.5 mbauds or 1500000.
Ensure you have the driver module loaded:
# modprobe ftdi_sio
# lsmod | grep ftdi_sio
ftdi_sio               61440  0
usbserial              53248  1 ftdi_sio
usbcore               290816  7 ftdi_sio,usbserial,xhci_hcd,usbhid,usbkbd,usbmouse,xhci_pci
If the above is not working, check the required driver is supported by your kernel, using one of the following commands:
$ zgrep FTDI_SIO /proc/config.gz
CONFIG_USB_SERIAL_FTDI_SIO=m
$ grep FTDI_SIO "/boot/config-$(uname -r)"
CONFIG_USB_SERIAL_FTDI_SIO=m
Using the dmesg command, you should see something like the following:
[24784.535804] usb 5-3: new full-speed USB device number 3 using xhci_hcd
[24784.710714] usb 5-3: New USB device found, idVendor=0403, idProduct=6001, bcdDevice= 6.00
[24784.710723] usb 5-3: New USB device strings: Mfr=1, Product=2, SerialNumber=3
[24784.710725] usb 5-3: Product: FT232R USB UART
[24784.710727] usb 5-3: Manufacturer: FTDI
[24784.710728] usb 5-3: SerialNumber: A10LLO86
[24784.723858] usbcore: registered new interface driver usbserial_generic
[24784.723865] usbserial: USB Serial support registered for generic
[24784.725286] usbcore: registered new interface driver ftdi_sio
[24784.725295] usbserial: USB Serial support registered for FTDI USB Serial Device
[24784.725348] ftdi_sio 5-3:1.0: FTDI USB Serial Device converter detected
[24784.725368] usb 5-3: Detected FT232RL
[24784.731685] usb 5-3: FTDI USB Serial Device converter now attached to ttyUSB0
Then you can get console output from the QP64 with, for example:
screen /dev/ttyUSB0 1500000
Mounting Holes
Mounting holes are 3 mm in diameter, so standard standoffs can be used, preferably the 2.5 mm variant. See also the PCB layout PDF files, linked in the Documentation section.
The height from the bottom of the PCB to the top of the USB ports as the tallest components is 18 mm, which can be used as a data point for selecting the suitable standoff length to place some acrylic top cover over the board. However, that doesn't account for the heatsink that needs to be mounted on the RK3588 SoC, for which a suitable rectangular hole can be cut in the top cover.
Storage
- Soldered 64 GB FORESEE eMMC chip, which comes pre-flashed with some Android build
- One microSD card slot
- Two SATA 3.0 ports (standard Molex power connector is not populated)
Power
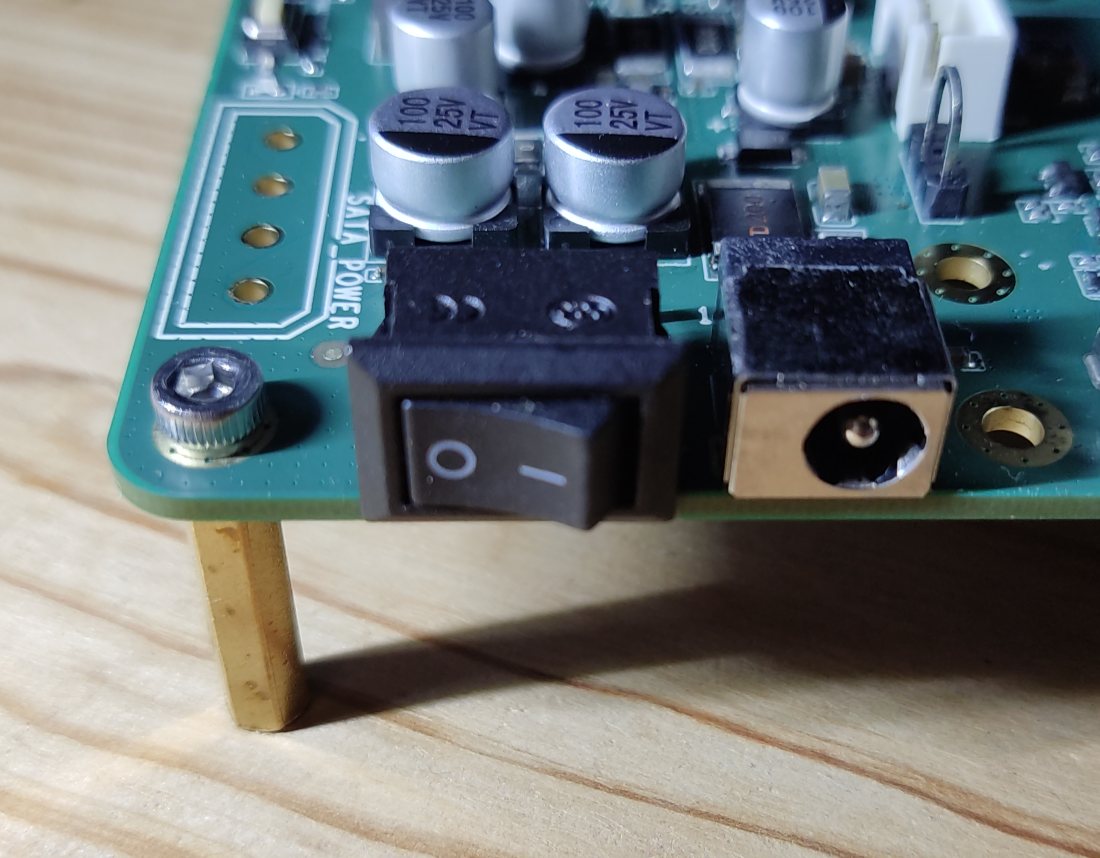
You can provide power to the board via the 12V barrel connector, it's 5.5mm OD/2.1mm ID barrel 'coaxial' type "M" centre-positive, the ROCKPro64 5A power supply from the PINE64 store will work. (TODO: add alternative ways).
There is a hardware flip switch to power up / down the board.
PMU
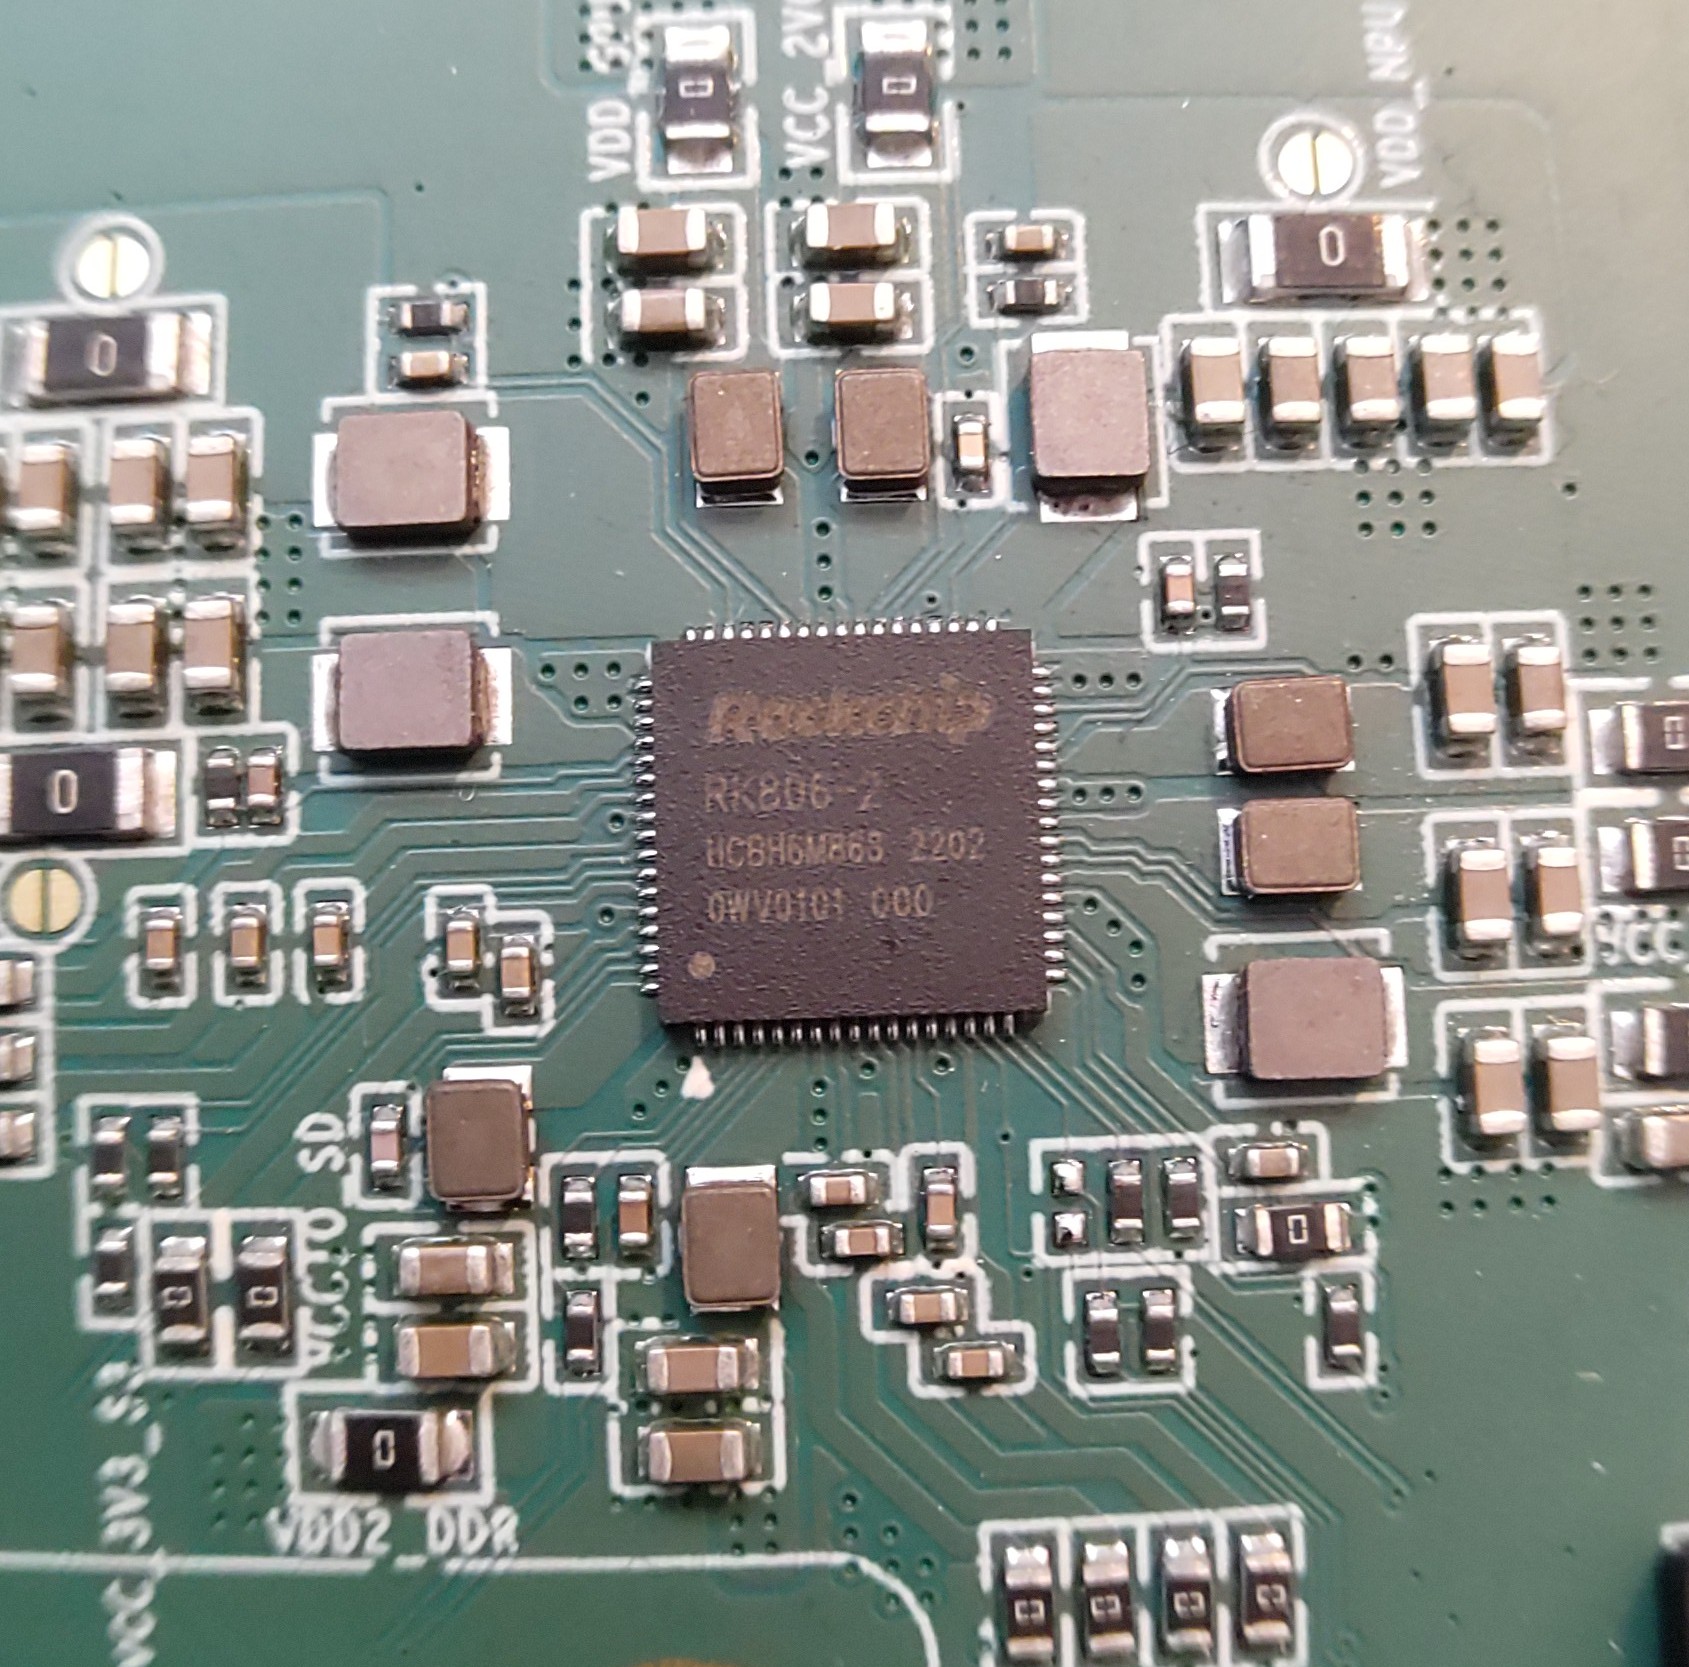
2x RK806-2, not RK808 compatible. It's a dual PMU configuration where one PMU is a subordinate of the other.
Verify this once we have access to SDK sources.
Ethernet
The RGMII ethernet port (near the SDCARD socket) is working if you use neg2led's linux-quartz64 repo.
The other port (near the sound jack) is hooked to the SoC via PCIe and is currently reported working (on the matrix channel) with latest neggles kernel.
Boot
The board can boot from the following interfaces:
- SPI
- eMMC
- SD/MMC
TODO: in which priority / order are those boot options tried ?
Recovery
In the case you erase the eMMC and are unable to boot the board, you can use rkdeveloptool to recover the board. While you can use the Pine64 Fork, it is recommended to use cypheon's Fork until some Pending PRs are merged in to resolve issues with larger files. This is important when working with the larger 64 GB eMMC on the QuartzPro64.
With rkdeveloptool installed, you will also need the rk3588_spl_loader from rockchip to init the memory/flash when in maskrom mode. This can be downloaded from the rockchip-linux/rkbin repo.
Build the rk3588_spl_loader:
git clone https://github.com/rockchip-linux/rkbin.git
Cloning into 'rkbin'...
[...]
Resolving deltas: 100% (11368/11368), done.
cd rkbin
./tools/boot_merger RKBOOT/RK3588MINIALL.ini
********boot_merger ver 1.34********
Info:Pack loader ok.
ls -lh rk3588_spl_loader_v1.16.113.bin
-rw-r--r-- 1 user group 477K Aug 18 17:23 rk3588_spl_loader_v1.16.113.bin
Entering maskrom can be done in a variety of ways:
- Hold the maskrom button (little white button labelled "MASKROM" next to SATA socket) during powerup, OR
- Enter rockusb mode, and execute "rkdeveloptool reboot-maskrom".
- Bork your eMMC and SD devices (how? erase?), in which case bootup will fallback to maskrom.
Dumping the eMMC
Boot the device into maskrom mode, and then verify rkdeveloptool can see the board.
# rkdeveloptool list
DevNo=1	Vid=0x2207,Pid=0x350b,LocationID=503	Maskrom
Once the board shows up, load the rk3588_spl_loader you downloaded or built earlier, and verify that the eMMC can be seen.
# rkdeveloptool boot ./rk3588_spl_loader_v1.08.111.bin
Downloading bootloader succeeded.
# rkdeveloptool read-flash-info
Flash Info:
	Manufacturer: SAMSUNG, value=00
	Flash Size: 59000 MB
	Flash Size: 120832000 Sectors
	Block Size: 512 KB
	Page Size: 2 KB
	ECC Bits: 0
	Access Time: 40
	Flash CS: Flash<0>
You can now dump the eMMC using the read command. Note that first you have to calculate the eMMC size, which can be done using the output from the previous flash info command. You need to take the sector count, and times it by the sector size, to get the total number of bytes. So in the above example, 120832000*512 so the total flash size is 61865984000.
Using the calculated size, you can now dump the eMMC. Please note this will take 1-2 minutes.
# rkdeveloptool read 0x0 61865984000 ./quartzpro64_emmc_dump.bin
Read LBA to file (0%)
...
Read LBA to file (100%)
You now have a full dump of the entire eMMC (SHA256 62cb4ae8d02aeacccf231fa1d00087cdc74b599790a274569305693aa205318d). Note that you can also use the list-partitions and read-partition commands to dump specific partitions, but this only shows GPT partitions on the eMMC. Because of this, it will NOT include the spl_loader found in the first 4MB of the eMMC!
Flasing the eMMC
Boot the device into maskrom mode, and then verify rkdeveloptool can see the board.
# rkdeveloptool list
DevNo=1	Vid=0x2207,Pid=0x350b,LocationID=503	Maskrom
Once the board shows up, load the rk3588_spl_loader you downloaded or built earlier, and verify that the eMMC can be seen.
# rkdeveloptool boot ./rk3588_spl_loader_v1.08.111.bin
Downloading bootloader succeeded.
# rkdeveloptool read-flash-info
Flash Info:
	Manufacturer: SAMSUNG, value=00
	Flash Size: 59000 MB
	Flash Size: 120832000 Sectors
	Block Size: 512 KB
	Page Size: 2 KB
	ECC Bits: 0
	Access Time: 40
	Flash CS: Flash<0>
You can now flash the device using either the write command, or write-partition command, depending on what you are trying to do. If you are looking to restore the entire eMMC from a backup you made, you would use the command below to accomplish this.
rkdeveloptool write 0 ./quartzpro64_emmc_dump.bin
Ways To Do Things
To build required components
See the Notes projects in the "Collabora RK3588 integration" repository. See in Resources / Misc, below.
Using rkdeveloptool
Use the PINE64 fork of rkdeveloptool.
Connect a USB-C cable to the "DEBUG PORT" USB-C port, and a second to the "DOWNLOAD" USB-C port. Cable direction for the latter matters, so if it doesn't show up after entering download mode, try rotating the USB-C connector to the other side!
To enter rockusb mode, interrupt the boot by holding the "V+/REC" on-board button or mashing Ctrl+C very quickly on the serial comms, then type download.
$ rkdeveloptool list
should now show you the device somewhat like this:
$ rkdeveloptool list
DevNo=1 Vid=0x2207,Pid=0x350b,LocationID=204    Loader
/etc/udev/rules.d/ and udevadm control --reloadNow, we can e.g. show the partitions on the eMMC:
$ rkdeveloptool list-partitions
#   LBA start (sectors)  LBA end (sectors)  Size (bytes)       Name
00                 8192              16383       4194304       security
01                16384              24575       4194304       uboot
02                24576              32767       4194304       trust
03                32768              40959       4194304       misc
04                40960              49151       4194304       dtbo
05                49152              51199       1048576       vbmeta
06                51200             133119      41943040       boot
07               133120             329727     100663296       recovery
08               329728            1116159     402653184       backup
09              1116160            1902591     402653184       cache
10              1902592            1935359      16777216       metadata
11              1935360            1937407       1048576       baseparameter
12              1937408            8310783    3263168512       super
13              8310784          120831935   57610829824       userdata
You can now use rkdeveloptool write-partition partitionname yourfile to overwrite one of the eMMC partitions.
U-Boot + Kernel On SD, RootFS On eMMC
This is the setup User:CounterPillow currently uses. In short, you'll need a vendor U-Boot on your SD card, with a boot partition on it that contains your extlinux.conf, device tree and kernel.
Setting Up The SD Card
Assuming your SD card is /dev/sdX, partition as e.g. follows:
# parted -s /dev/sdX mklabel gpt
# parted -s /dev/sdX mkpart loader 64s 8MiB
# parted -s /dev/sdX mkpart uboot 8MiB 16MiB
# parted -s /dev/sdX mkpart env 16MiB 32MiB
# parted -s /dev/sdX mkpart efi fat32 32MiB 544MiB    # increase size as you wish
# parted -s /dev/sdX set 4 boot on
Flash SPL and u-boot:
# dd if=rk3588_spl_loader_v1.06.109.bin of=/dev/sdX1
# dd if=uboot.img of=/dev/sdX2
Then make the filesystem:
# mkfs.vfat -n "efi" /dev/sdX4
Mount it to e.g. /mnt/sdcardboot:
# mount /dev/sda4 /mnt/sdcardboot
Put the following in /mnt/sdcardboot/extlinux/extlinux.conf:
default l0
menu title QuartzPro64 Boot Menu
prompt 0
timeout 50

label l0
menu label Boot Jank Kernel SDMMC
linux /jank
fdt /dtbs/rockchip/rk3588-evb1-v10.dtb
append earlycon=uart8250,mmio32,0xfeb50000 console=ttyS2,1500000n8 root=/dev/mmcblk0p14 rw rootwait
Copy your kernel to /mnt/sdcardboot/jank and your DTB to /mnt/sdcardboot/dtbs/rockchip/rk3588-evb1-v10.dtb.
Unmount it, we're done with the SD card.
Creating The Root File System
First, allocate a file the size of your desired root partition (larger sizes will take longer to transfer, don't make the same mistakes as CounterPillow did), here we choose 16G:
$ fallocate -l 16G rootpart.bin
then, make the filesystem on it. CounterPillow went for ext4 because nobody has ever been fired for using ext4:
$ mkfs.ext4 rootpart.bin
Cool, now mount it:
# mount rootpart.bin /mnt/emmc-root
Now we'll download the Arch Linux ARM generic rootfs tarball and go to town:
$ wget -N http://os.archlinuxarm.org/os/ArchLinuxARM-aarch64-latest.tar.gz{,.sig}
$ curl 'https://keyserver.ubuntu.com/pks/lookup?op=get&search=0x68b3537f39a313b3e574d06777193f152bdbe6a6' | gpg --import=-    # in case you're lacking the key
$ gpg --verify ArchLinuxARM-aarch64-latest.tar.gz.sig    # don't you dare skip this
# bsdtar -xpf ArchLinuxARM-aarch64-latest.tar.gz -C /mnt/emmc-root    # notice that this is run as root
Then we just need to edit fstab. Get the UUID (not PARTUUID) from lsblk:
$ lsblk -o NAME,SIZE,MOUNTPOINTS,UUID
and put it in /mnt/emmc-root/etc/fstab as follows:
UUID=root-uuid-here / ext4 defaults 0 1
Unmount /mnt/emmc-root, we're done with it.
Flashing The Root File System With RockUSB
Plug one USB-C cable into the debug UART port, the other into the download port. Yes you will need two USB-C cables (or A-to-C cables) for this, get over it.
Plug in your board, reset it while hammering Ctrl+c on the debug UART until you get into a u-boot command line. Now enter the download command.
If your device doesn't show up in lsusb or rkdeveloptool list command, pull out the download USB-C plug, rotate it axially by 180 Euler degrees, and plug it back in.
Next, flash the partition. Depending on the size of it, this can take over an hour:
$ rkdeveloptool write-partition userdata rootpart.bin
Booting
Unplug the download USB-C cable once done.
Put the SD card in the board. Reset it. You can now boot and your rootfs on eMMC will be mounted and contains an ALARM userland.
To update kernels or the device tree, just shut down the board, take out the SD card, write a new kernel or dtb to it, and plug it back in. No more need for rkdeveloptool, yay.
Resources
Kernel
- The linux-rockchip mailing list archives
- The linux-rockchip patchwork
- Rockchip BSP kernel tree
- Radxa kernel tree
Misc
- The quartz64 and quartz-dev channels on the PINE64 chats (bridged IRC, Matrix, Discord and Telegram)
- PINE64 rkdeveloptool fork
- Rockchip binary blobs repository
- Rockchip OpenSource wiki
- rockchiprs (rkdeveloptool replacement written in Rust)
- Collabora RK3588 integration (u-boot, kernel, Status table, etc.) - A lot of good information is here
Documentation
The documentation for the QuartzPro64 board and most of the documentation for the chips it uses hasn't been publicly released yet, but if you do own a QuartzPro64 board, CounterPillow or dsimic will happily provide the documentation to you for the research or development purposes, if you ask them in the PINE64 chat channels. We've got the following documents, some of which can also be found elsewhere on the Internet rather easily:
- RK3588 datasheet
- RK3588 technical reference manual (TRM), parts 1 and 2
- RK3588 hardware design guide, machine translated to English from Chinese, and the original version in Chinese
- RK860 datasheet, including register descriptions
- RK806 datasheet, including register descriptions
- QuartzPro64 schematics
- QuartzPro64 PCB top layout
- QuartzPro64 PCB bottom layout
- AMPAK AP6275PR3 (WiFi + BT module) datasheet
- AMPAK AP6275P (WiFi + BT module) datasheet
