Difference between revisions of "QuartzPro64 Development"
m (fix fstab pass number) |
m (→U-Boot + Kernel On SD, RootFS On eMMC: formatting) |
||
| Line 221: | Line 221: | ||
prompt 0 | prompt 0 | ||
timeout 50 | timeout 50 | ||
label l0 | label l0 | ||
menu label Boot Jank Kernel SDMMC | menu label Boot Jank Kernel SDMMC | ||
Revision as of 19:14, 7 May 2022
A QuartzPro64 Development Wiki page before a QuartzPro64 Wiki page? It's more likely than you think!
This page will be used for both documenting the current development efforts and the board in general, as we don't know yet how a generally available QuartzPro64 will look like so documenting the dev board is probably best left to the development page.
Upstreaming Status
| Function | Status | Component | Notes | |
|---|---|---|---|---|
| Video Output | Needs porting | VOP2
|
The video output IP on the RK3588 should mostly be the same as the one on the RK356x, but the chip specific stuff will need to be integrated into the vop2 driver (once it's merged) | |
| Video Input | Needs porting | |||
| 3D Acceleration | Needs writing | Upstream Mesa | panfrost
|
Initial support in Mesa as of 22.2[1], changes specific to this SoC may be needed to both kernel and Mesa. |
| Video Decode | Needs writing | GStreamer only, no ffmpeg[2] | hantro using v4l2-requests
|
VDPU121 handling 1080p60 H.263/MPEG-4, MPEG-1 and MPEG-2 |
| Needs writing | rkvdec2 using v4l2-requests
|
VDPU346 handling 8K60 H.265, H.264, VP9 and AVS | ||
| Needs writing | rkdjpeg using v4l2-requests
|
VDPU720 handling JPEG | ||
| Needs writing | ? using v4l2-requests
|
VDPU981 handling 4K60 AV1 | ||
| Video Encode | Needs writing | GStreamer only | JPEG on VEPU121 | Driver already exists, only minor changes needed. Very unfinished GStreamer implementation, doesn't allow for e.g. controlling the quality. |
| Needs writing | ? | H.264 on VEPU580 | ||
| Needs writing | ? | H.265 on VEPU580 | ||
| Audio | Needs porting | rockchip-i2s-tdm
|
Should be exactly the same as RK356x (according to the TRM), just needs compatible string copypasted over probably | |
| CRU | In review[3] | clk-rk3588
|
||
| SD/MMC | In review[4] | sdhci-of-dwcmshc
|
||
| pinctrl | linux-next[5] | pinctrl-rockchip
|
||
| GPIO | In review[6] | rockchip-gpio
|
||
| Regulators | Needs porting | rk806
|
||
Hardware
General
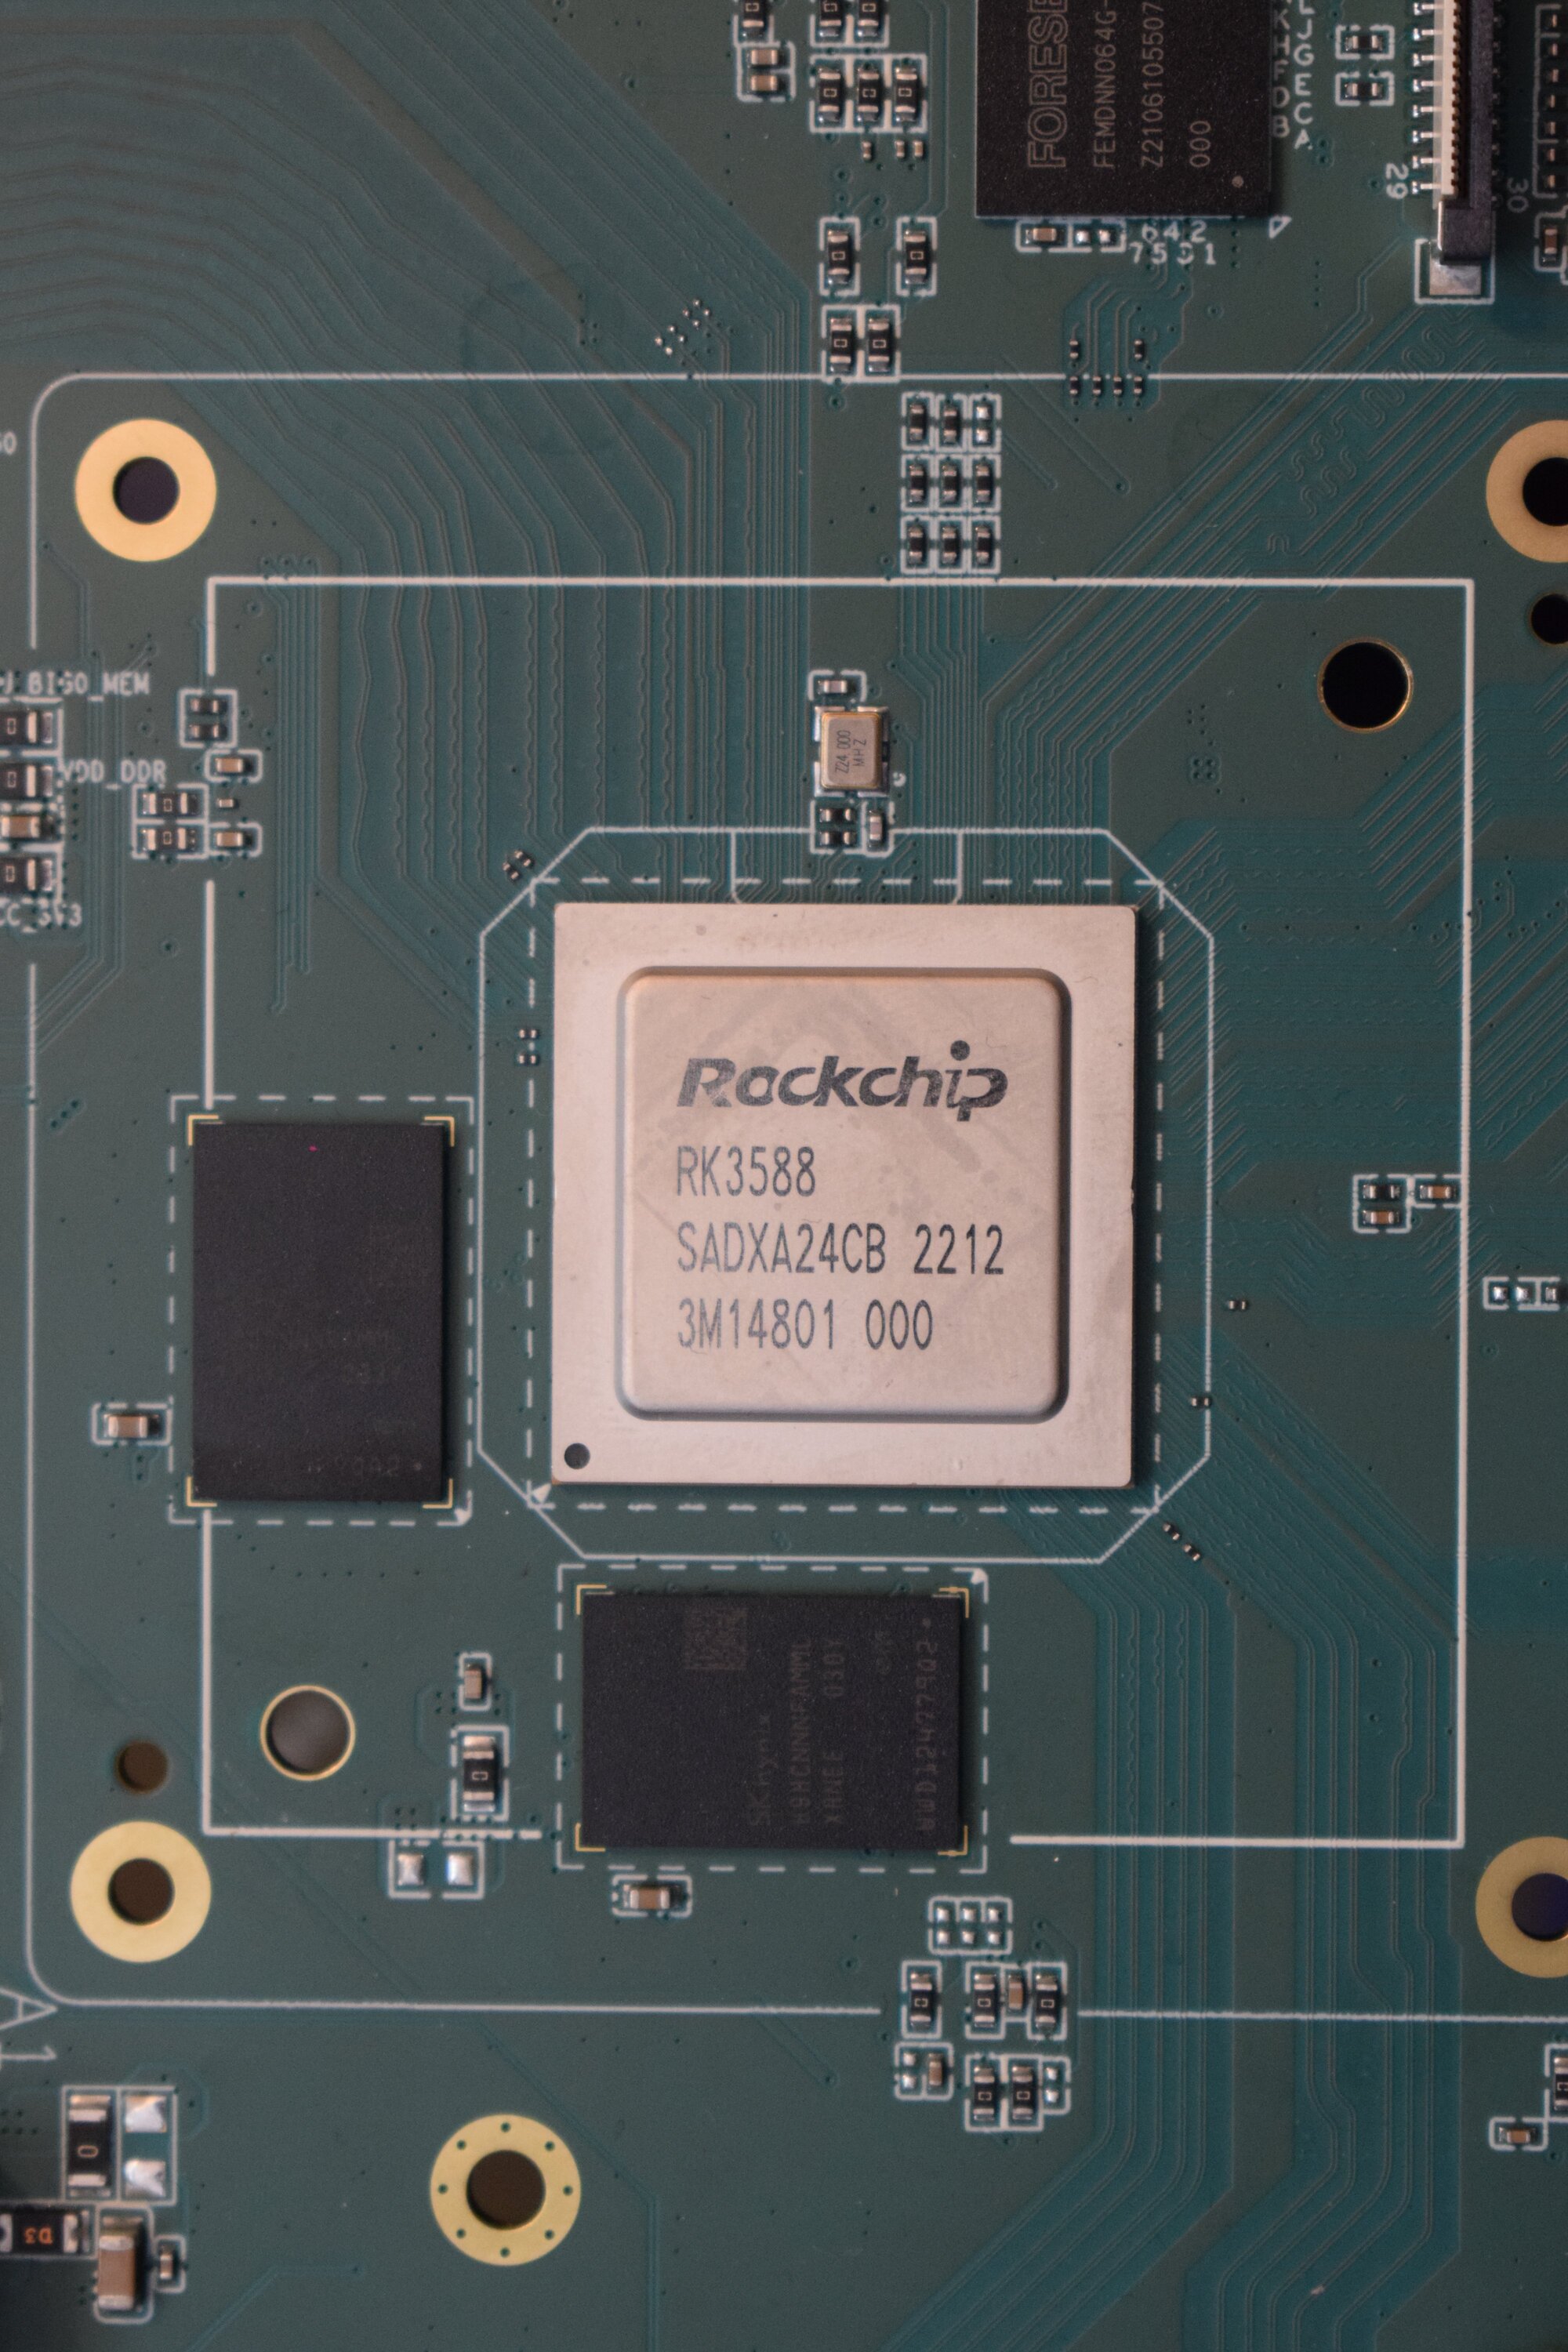
- RK3588 SoC
- 16 GB SK hynix DRAM
Cooler
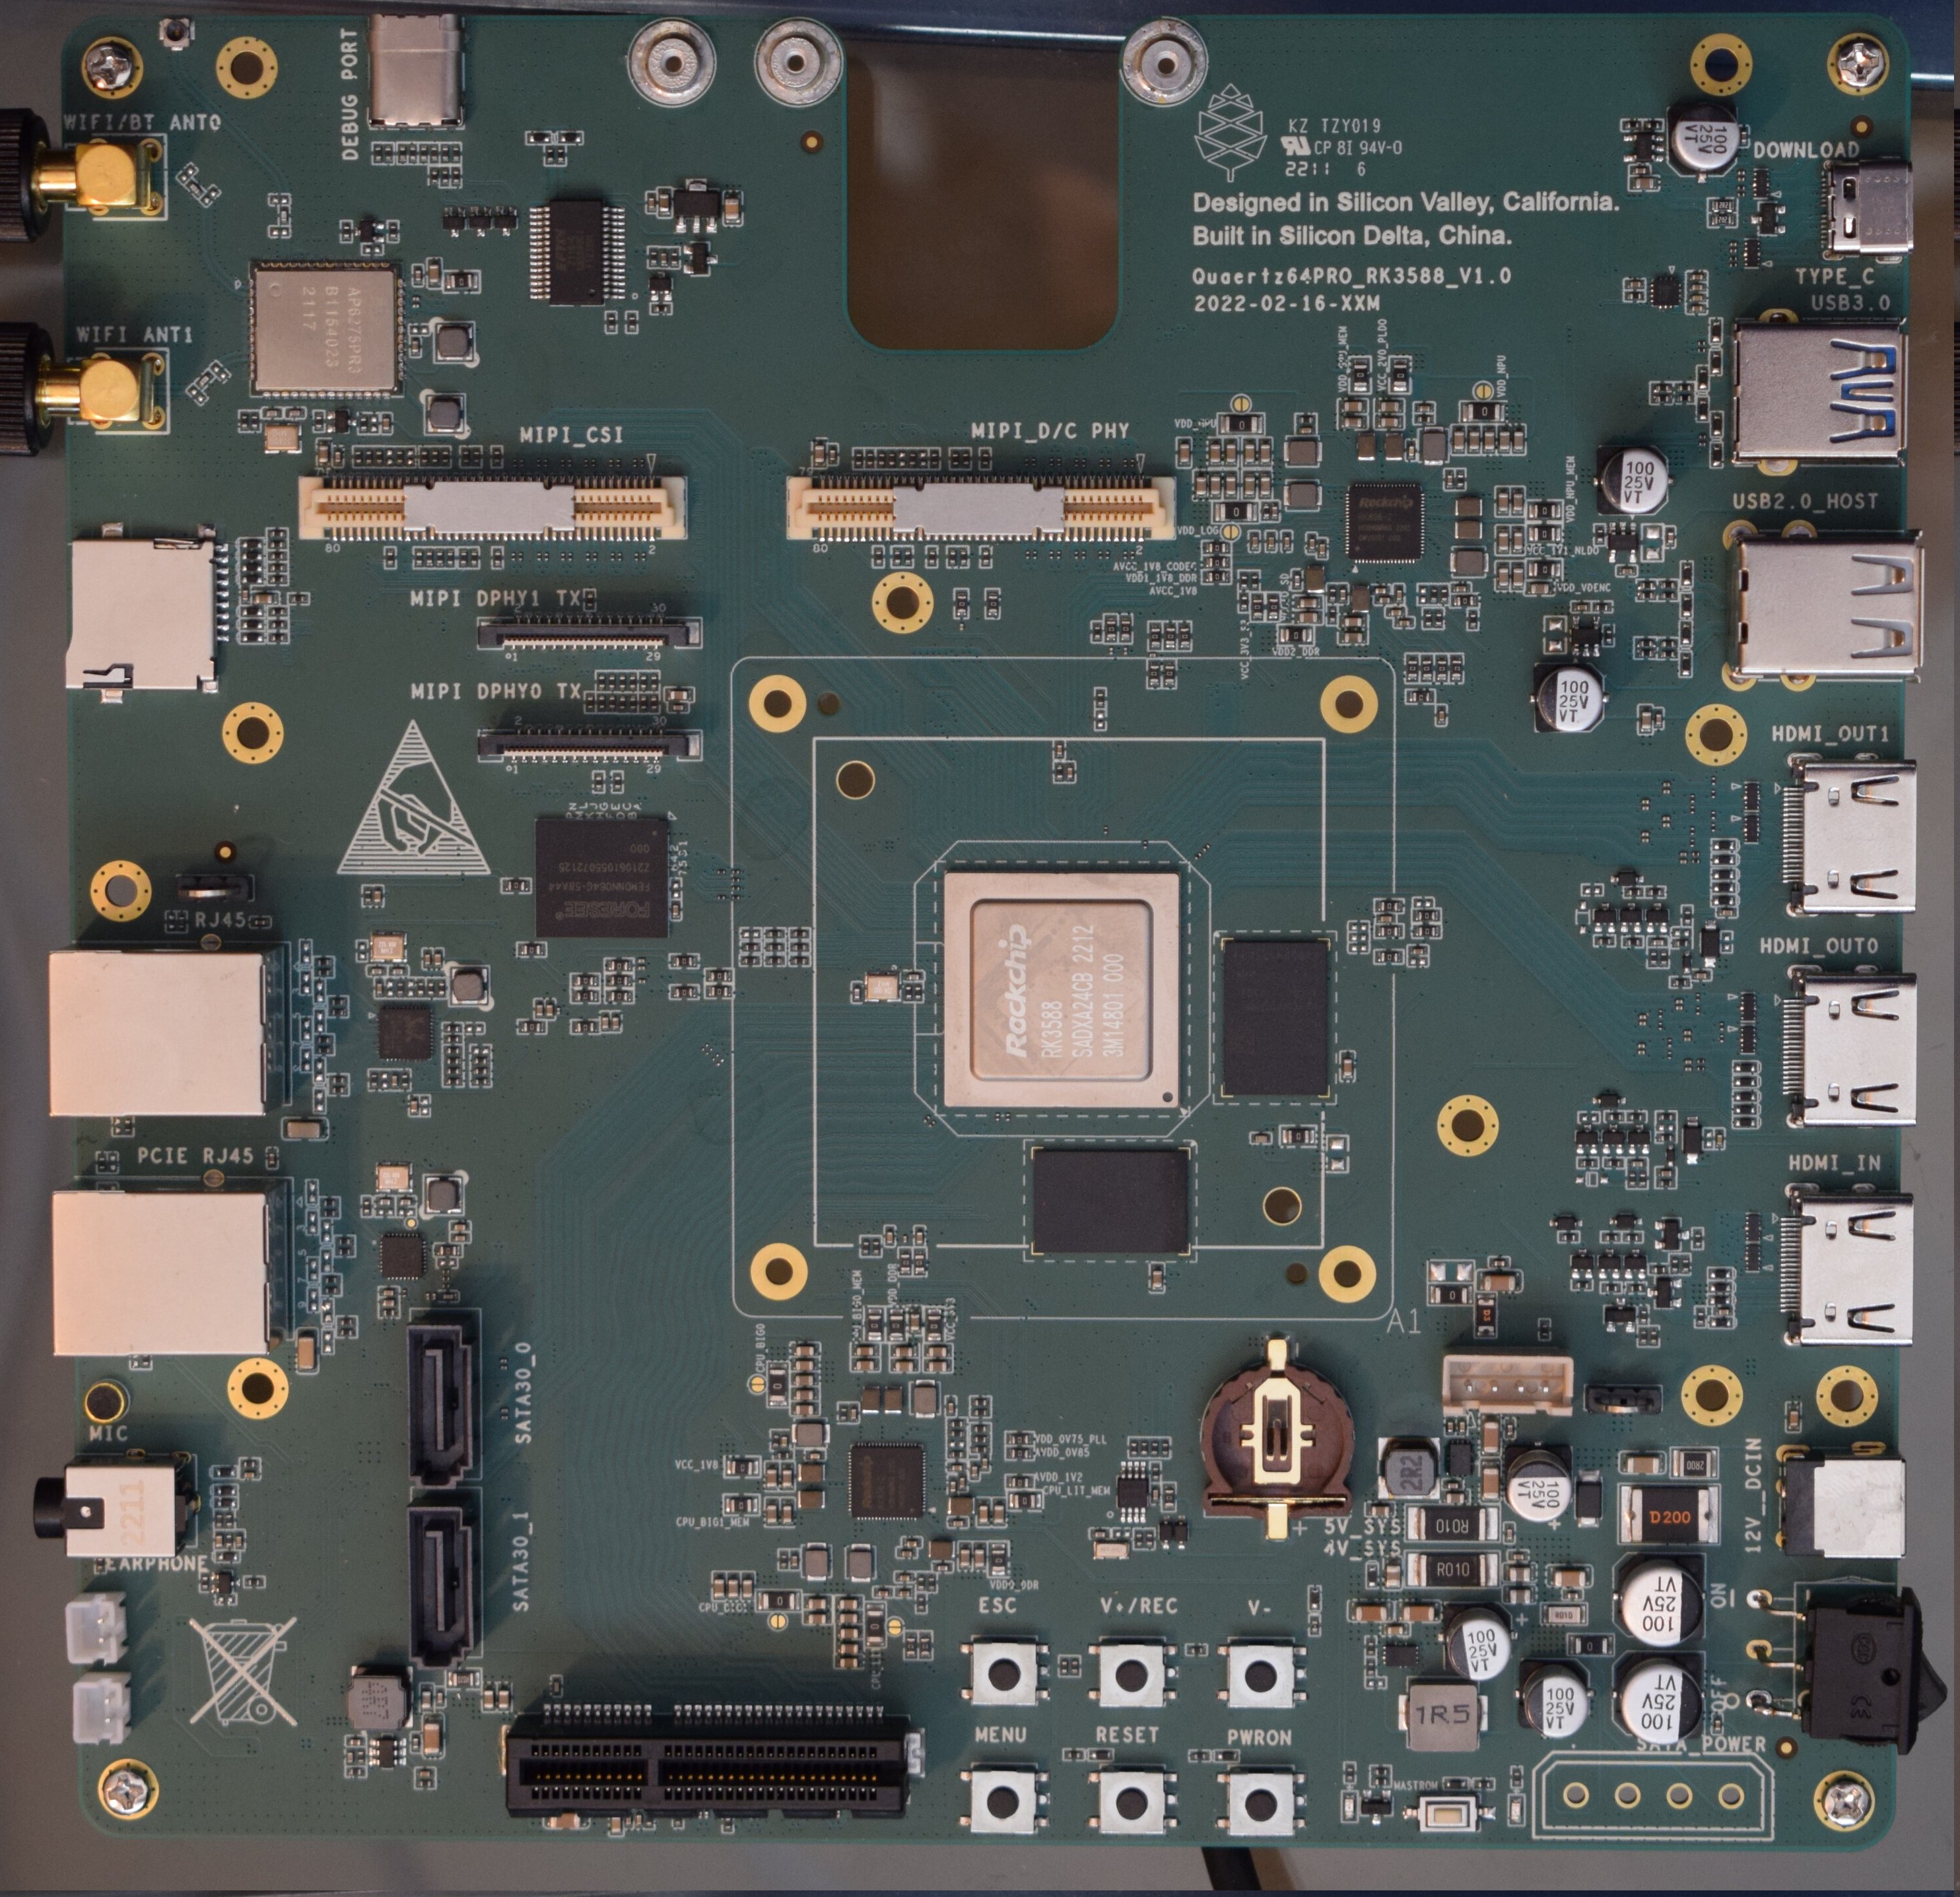
The board comes with two cooler mounts, a 4-hole mount that appears to be spaced 55x55mm apart, and the ~60mm diagonal "northbridge heatsink" mount the ROCKPro64 and QUartz64 Model A uses.
RK3588 is slightly (<1mm?) taller than the DRAM chips, use a thick enough thermal pad instead of thermal compound.
UART
Plug in the USB-C port labelled "DEBUG PORT" on the board, it will show up as a FT232 USB Serial adapter. Baud rate is as usual 1.5mbauds or 1500000.
Mounting Holes
Can't be bothered to take a precise measurement of all the holes right now, just use some PC standoffs and have the board sit on your desk, it's a dev board after all.
Storage
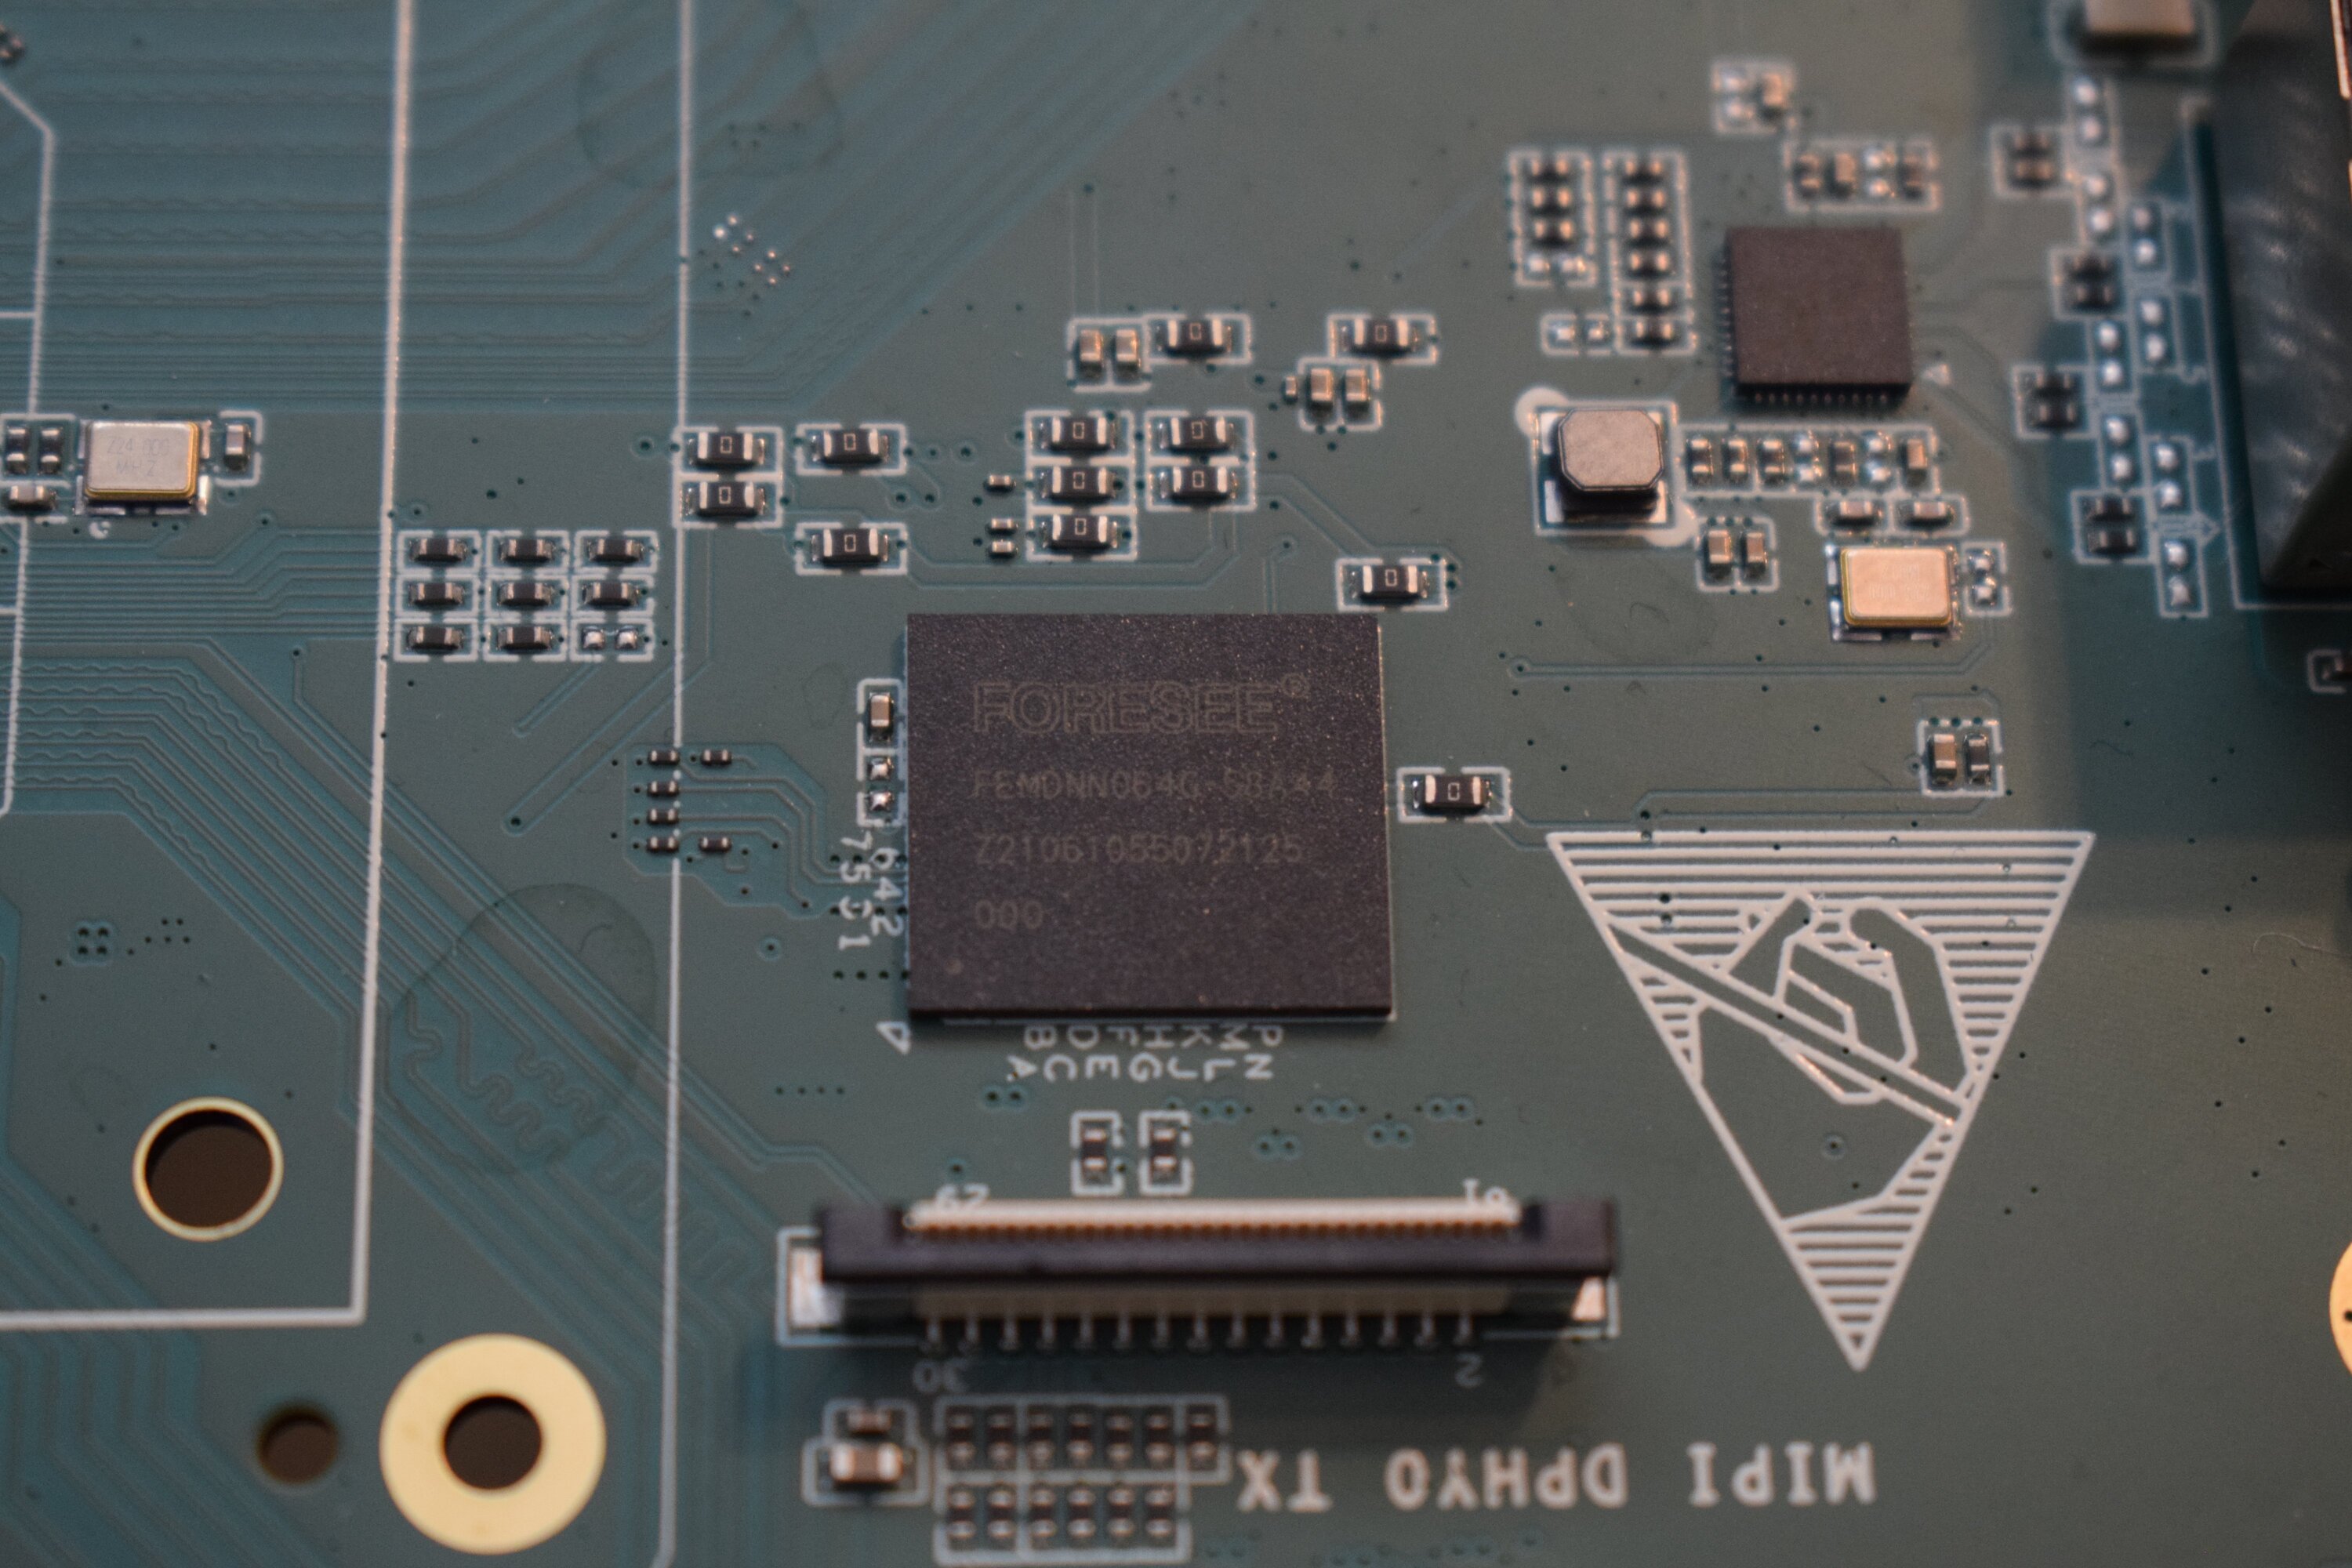
- Soldered on 64 GB FORESEE eMMC chip, it comes pre-flashed with some Android (you'll even get a brief bit of HDMI output)
- microSD card slot
- 2x SATA 3.0 (molex power connector for it not populated, but easy to remedy)
PMU
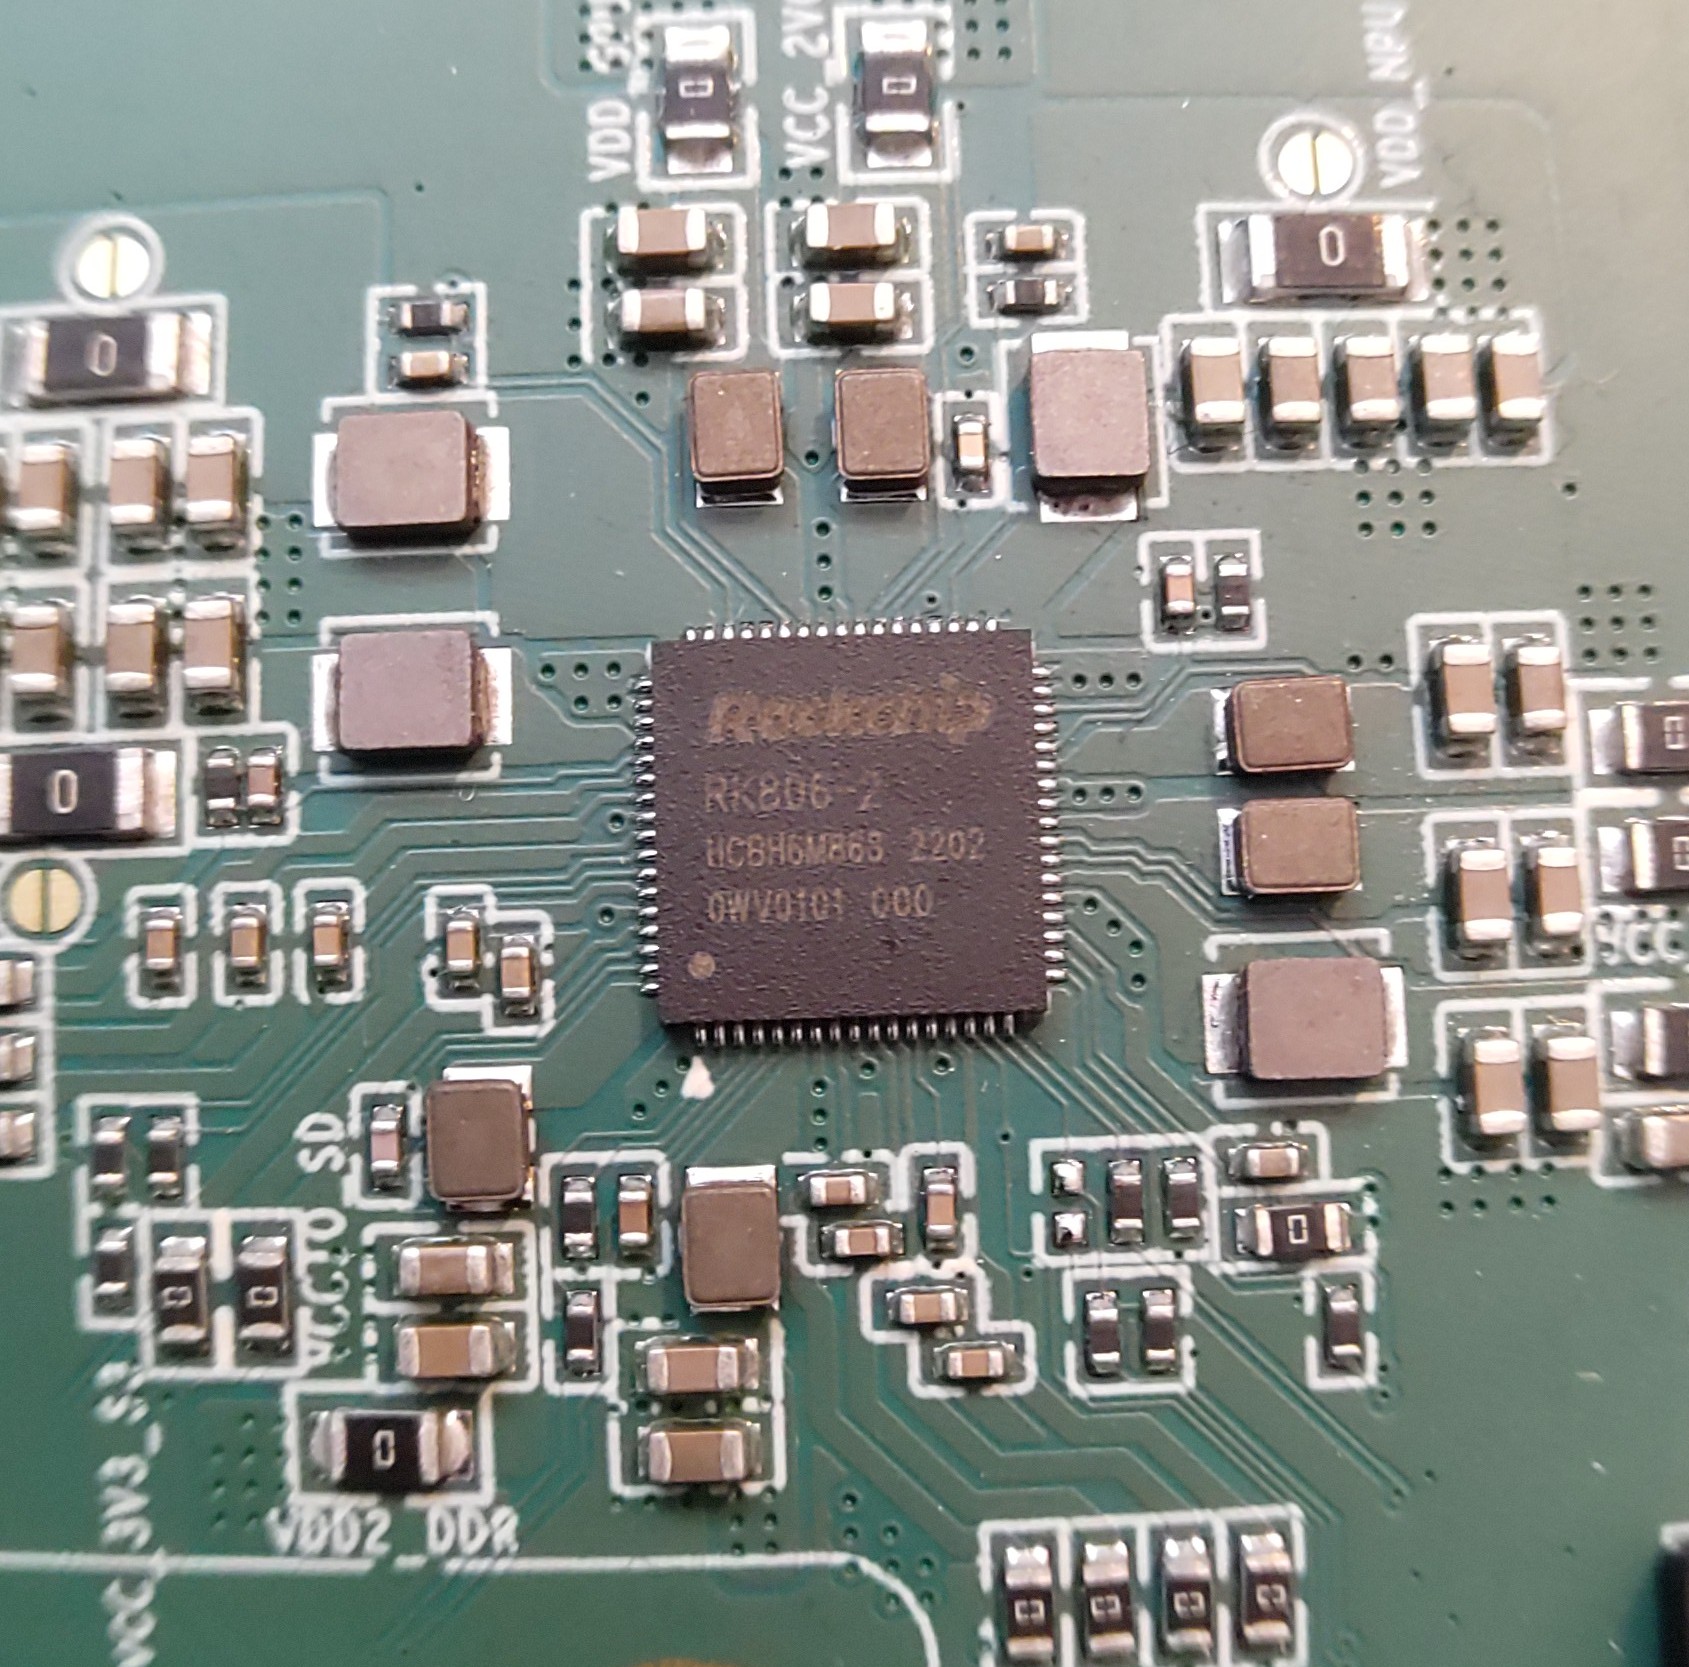
2x RK806-2, not RK808 compatible. It's a dual PMU configuration where one PMU is a subordinate of the other.
Verify this once we have access to SDK sources.
Immediate TODOs
Port RK806 Driver
For giving the SD card power, we need the RK806 driver.
Port Power Domains
Straightforward port, might need cleanup before upstream submission though. User:CounterPillow has experimentally just copypasted things over until it compiled and that eventually reached the goal of being compilable. Can't speak as to whether it works though.
Put Regulator/Power Controller Stuff In Device Tree
Needed for SD card, which is crucial to a good development experience.
Ways To Do Things
Using rkdeveloptool
Use the PINE64 fork of rkdeveloptool.
Connect a USB-C cable to the "DEBUG PORT" USB-C port, and a second to the "DOWNLOAD" USB-C port. Cable direction for the latter matters, so if it doesn't show up after entering download mode, try rotating the USB-C connector to the other side!
Interrupt the boot by mashing Ctrl+C very quickly on the serial comms, then type download to enter rockusb download mode.
$ rkdeveloptool list
should now show you the device somewhat like this:
$ rkdeveloptool list
DevNo=1 Vid=0x2207,Pid=0x350b,LocationID=204    Loader
/etc/udev/rules.d/ and udevadm control --reloadNow, we can e.g. show the partitions on the eMMC:
$ rkdeveloptool list-partitions
#   LBA start (sectors)  LBA end (sectors)  Size (bytes)       Name
00                 8192              16383       4194304       security
01                16384              24575       4194304       uboot
02                24576              32767       4194304       trust
03                32768              40959       4194304       misc
04                40960              49151       4194304       dtbo
05                49152              51199       1048576       vbmeta
06                51200             133119      41943040       boot
07               133120             329727     100663296       recovery
08               329728            1116159     402653184       backup
09              1116160            1902591     402653184       cache
10              1902592            1935359      16777216       metadata
11              1935360            1937407       1048576       baseparameter
12              1937408            8310783    3263168512       super
13              8310784          120831935   57610829824       userdata
You can now use rkdeveloptool write-partition partitionname yourfile to overwrite one of the eMMC partitions.
U-Boot + Kernel On SD, RootFS On eMMC
This is the setup User:CounterPillow currently uses. In short, you'll need a vendor U-Boot on your SD card, with a boot partition on it that contains your extlinux.conf, device tree and kernel.
Setting Up The SD Card
Assuming your SD card is /dev/sdX, partition as e.g. follows:
# parted -s /dev/sdX mklabel gpt
# parted -s /dev/sdX mkpart loader 64s 8MiB
# parted -s /dev/sdX mkpart uboot 8MiB 16MiB
# parted -s /dev/sdX mkpart env 16MiB 32MiB
# parted -s /dev/sdX mkpart efi fat32 32MiB 544MiB    # increase size as you wish
# parted -s /dev/sdX set 4 boot on
Flash SPL and u-boot:
# dd if=rk3588_spl_loader_v1.06.109.bin of=/dev/sdX1
# dd if=uboot.img of=/dev/sdX2
Then make the filesystem:
# mkfs.vfat -n "efi" /dev/sdX4
Mount it to e.g. /mnt/sdcardboot:
# mount /dev/sda4 /mnt/sdcardboot
Put the following in /mnt/sdcardboot/extlinux/extlinux.conf:
default l0
menu title QuartzPro64 Boot Menu
prompt 0
timeout 50

label l0
menu label Boot Jank Kernel SDMMC
linux /jank
fdt /dtbs/rockchip/rk3588-evb1-v10.dtb
append earlycon=uart8250,mmio32,0xfeb50000 console=ttyS2,1500000n8 root=/dev/mmcblk0p14 rw rootwait
Copy your kernel to /mnt/sdcardboot/jank and your DTB to /mnt/sdcardboot/dtbs/rockchip/rk3588-evb1-v10.dtb.
Unmount it, we're done with the SD card.
Creating The Root File System
Make a file of the size of the userdata partition of your eMMC, e.g. for the 57610829824 bytes (57.6 GB) CounterPillow's was, do:
$ dd if=/dev/zero of=rootpart.bin bs=1024 count=56260576
then, make the filesystem on it. CounterPillow went for ext4 because nobody has ever been fired for using ext4:
$ mkfs.ext4 rootpart.bin
Cool, now mount it:
# mount rootpart.bin /mnt/emmc-root
Now we'll download the Arch Linux ARM generic rootfs tarball and go to town:
$ wget -N http://os.archlinuxarm.org/os/ArchLinuxARM-aarch64-latest.tar.gz{,.sig}
$ curl 'https://keyserver.ubuntu.com/pks/lookup?op=get&search=0x68b3537f39a313b3e574d06777193f152bdbe6a6' | gpg --import=-    # in case you're lacking the key
$ gpg --verify ArchLinuxARM-aarch64-latest.tar.gz.sig    # don't you dare skip this
# bsdtar -xpf ArchLinuxARM-aarch64-latest.tar.gz -C /mnt/emmc-root    # notice that this is run as root
Then we just need to edit fstab. Get the UUID (not PARTUUID) from lsblk:
$ lsblk -o NAME,SIZE,MOUNTPOINTS,UUID
and put it in /mnt/emmc-root/etc/fstab as follows:
UUID=root-uuid-here / ext4 defaults 0 1
Unmount /mnt/emmc-root, we're done with it.
Flashing The Root File System With RockUSB
Plug one USB-C cable into the debug UART port, the other into the download port. Yes you will need two USB-C cables (or A-to-C cables) for this, get over it.
Plug in your board, reset it while hammering Ctrl+c on the debug UART until you get into a u-boot command line. Now enter the download command.
If your device doesn't show up in lsusb or rkdeveloptool list command, pull out the download USB-C plug, rotate it axially by 180 Euler degrees, and plug it back in.
Next, flash the partition. Depending on the size of it, this can take over an hour:
$ rkdeveloptool write-partition userdata rootpart.bin
Booting
Unplug the download USB-C cable once done.
Put the SD card in the board. Reset it. You can now boot and your rootfs on eMMC will be mounted and contains an ALARM userland.
To update kernels or the device tree, just shut down the board, take out the SD card, write a new kernel or dtb to it, and plug it back in. No more need for rkdeveloptool, yay.


