PineTab
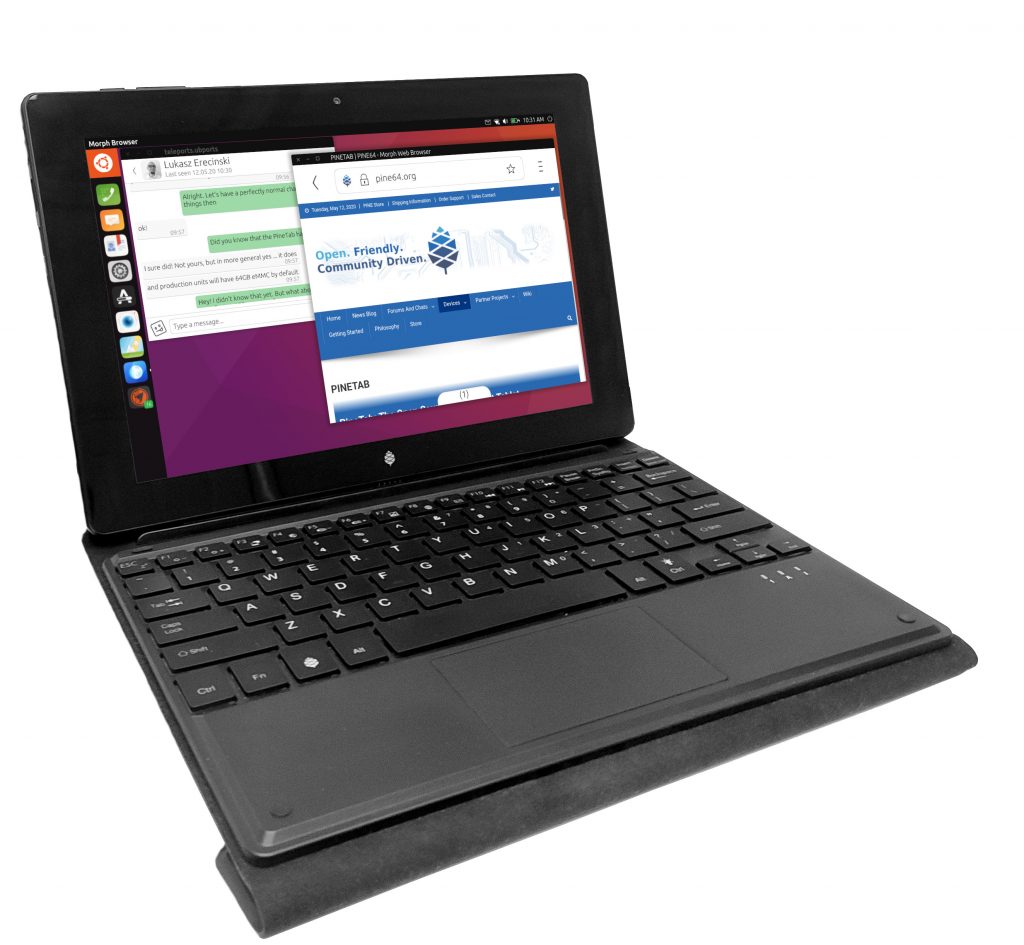
The PineTab is a 10" tablet created by Pine64. The PineTab is similar in both form, function and underlying ARM64 architecture to the original 11.6″ Pinebook. It is powered by the same quad-core ARM Cortex A53 64-Bit Processor used in our popular PINE A64 Single Board Computer. The optional keyboard and trackpad – which doubles-up as a screen cover – effectively converts the PineTab into a petite on-the-go laptop with a touch screen functionality. It runs numerous mainline Linux distributions as well as *BSD and Android.
Revisions
- Developer Edition - development version sent to roughly 100 developers. Close to the Early Adopter Edition, but with a different display panel
- Early Adopter Edition - the first hardware revision of the PineTab
Specifications
- Dimensions: 11mm x 175mm x 260mm (Thickness, Width, Height)
- Weight: 575g (Tablet alone)
- Build: Plastic
- Storage:
- 64GB of internal eMMC storage
- MicroSD slot, bootable
- M.2 SSD slot, supports SATA and USB devices only, not NVME (optional)
- Cameras: 2Mpx Front, 5Mpx Rear
- SOC: Allwinner A64 Quad Core
- CPU: 4x ARM A53 1.152GHz
- GPU: Mali 400 MP2
- RAM: 2GB LPDDR3
- I/O: HD Video Out (Mini HDMI), Micro USB 2.0 OTG, USB 2.0 A host, 3.5mm Headphone/Mic combo,
- Network:
- WiFi (802.11b/g/n, 2.4GHz only)
- Bluetooth 2.1
- M.2 LTE / Cell MODEM card, (optional, and takes place of optional M.2 SSD)
- Display:
- Size: 10.1 inches (257mm) diagonal
- Type: HD IPS capacitive touchscreen, 16M colors
- Resolution: 1280x800, 16:10 ratio
- Attachments/Accessories: Magnetically attached keyboard (optional)
- Battery: 6000MAh (6Ah)
- Misc. features:
- Volume rocker
- Speakers and Microphone
- 2.5mm OD 0.7mm ID DC Jack Power (5V 2A) Port
Keyboard
Overview: The PineTab detachable keyboard features a full function row, FN key functionality, meta key (where the Windows key would be) and all of the keys you need for daily use.
FN keys:: Pause/play (F2), Stop (F3), Previous(F4), Next(F5), Music (F6), Mail (F7), Home (F8), Mute (F9), Vol- (F10), Vol+ (F11), Disable touchpad (F12), NumLock (Insert), Scroll Lock (Delete), PgUp (Up Arrow), PgDn (Down Arrow), Home (Left Arrow), End (Right Arrow), Digital Numpad (7,8,9,0,U,I,O,P,J,K,L,;,M,.,/)
PineTab board information, schematics and certifications
- PineTab mainboard schematic:
- PineTab keyboard schematic:
- PineTab keyboard and Pinebook (Pro) keyboard using same controller and from same engineering source
- PineTab Keyboard Schematic
- PineTab keyboard firmware code
- PineTab Keyboard Controller Datasheet
- PineTab certifications:
Datasheets for components and peripherals
- Allwinner A64 SoC information:
- X-Powers AXP803 PMU (Power Management Unit) information:
- LPDDR3 (178 Balls) SDRAM:
- eMMC information:
- CMOS camera module information:
- LCD touch screen panel information:
- Lithium battery information:
- N/A
- WiFi/BT module information:
Operating Systems
The PineTab will automatically boot from microSD if a bootable card is inserted. Although it is technically possible to use any ARM distro (because the PineTab uses the mainline kernel), only few of them will actually be usable on Early Adopters PineTab, due to specifics of working with LCD panel. Among those listed all except for postmarketOS have working builds.
Arch Linux ARM
Unofficial Arch Linux ARM with Phosh as the UI selection, maintained by the DanctNIX community.
Download:
- The latest image can be downloaded here
Manjaro ARM
Manjaro is a Linux based alternative operating system with no adverts or licensing fees, it respects user privacy and gives them full control over their hardware. The PineTab "Early Adopter" edition is currently the only device supported by Manjaro ARM.
Download:
- Images with several different environments, including Phosh and Plasma, are available for the "Dev" pre-release can be downloaded here
- Images for the Early Adopter version can be downloaded here.
Both Beta releases and weekly unstable builds for Phosh and Plasma Mobile can be found there.
Mobian
Mobian is a project providing Debian images for mobile devices.
Download:
- PineTab images can be downloaded here. The password is 1234
postmarketOS
postmarketOS extends Alpine Linux to run on smartphones and other mobile devices.
It offers various user interfaces (Phosh, Plasma Mobile, Sxmo, Plasma Desktop, Gnome 3, Kodi, XFCE4 and more). As of writing, official images are provided with Phosh and Plasma Mobile. The official images come in two flavors, either as demo image to try out postmarketOS, or with the installer.
When using the installer images (recommended), it is possible to:
- encrypt your installation
- install from the SD card to eMMC
Getting postmarketOS for the PineTab:
- Download page
- Flashing instructions
- Power users may also create their own image with the distribution's install and development tool
pmbootstrap
Sailfish OS
You can get SailfishOS on your with the flash-it script, which will write an image on a SD card. https://github.com/sailfish-on-dontbeevil/flash-it
There is a forum discussion with further information.
http://forum.pine64.org/showthread.php?tid=11850
Many things are still broken but Bluetooth, Audio, Rotation and Keyboard are working.
UBPorts
The UBPorts Ubuntu Touch is what was preinstalled on the PineTab Early Adopters batch.
It can update itself in System Settings, and also a jenkins daily build can be downloaded at this updated address for the latest daily image:
https://ci.ubports.com/job/rootfs/job/rootfs-pinetab-systemimage/
The last stable builds are also listed and appear to be updated every few weeks.
It should be noted that as of 20th January the latest stable/release candidate and development builds still lacked Bluetooth, Rotation and had the same issues with online accounts etc
Online accounts access have a fix for Google accounts here https://github.com/rubencarneiro/account-plugins/releases
There are however significant updates to the original PineTab image (without the issues above)
The old image appears to be deprecated here here
In the event that WiFi fails to connect, the USB port can be used with an appropriate dongle to connect for internet using ethernet cable.
Installation instructions
For instructions on how to install the operating systems to the eMMC or microSD card see PinePhone Installation Instructions. The information is almost the same for the PineTab, as it is a very similar device. Do not try to use the PinePhone images though, use the PineTab images linked above.
Testing
To test an OS, just flash its image onto an microSD card, plug it into PineTab, and reboot. Note that USB stick won't work. Also note that you need to "flash", not just copy the file onto the card. Also remember that you need to unpack image file if it's packed!
You can do it using Ubuntu Touch installed on the PineTab! For now, only Mobian is supported by the guide below.
- First, make sure you have enough free disk space and empty Downloads directory on the PineTab (while not strictly necessary, empty Downloads dir will simplify your typing. You can just move all files from there to another directory).
- Turn off Sleep when idle in the settings. Settings > Battery > Sleep when idle: Never
- Go to the Mobian link above and download compressed image (the one ending with .img.gz) - usual recommendation is to download latest, i.e. lowest one.
- Open terminal and type this in it:
 cd Downloads
 ls
- It should show you the name of the file you've just downloaded
- This file is compressed, so first you need to uncompress it. Type this into terminal:
gunzip *.gz && echo done
- This command will take some time (you won't see any progress until it's done). It either will succeed (and print "done") and fail (and print why).
- Now, let's have a look at disks. Type this into terminal:
lsblk
- It should show you a tree of disks and their partitions. If you don't have microSD card inserted yet, all of them begin with mmcblk2. Also, some of them have something in the "MOUNTPOINT" column
- Insert microSD card into PineTab. Note that all information on it will be deleted, so don't insert one with valuable information on it!
- type `lsblk` into terminal again.
- Note that now tree of disks has one or more new entries - starting with mmcblk0 - that's partitions of your microSD card.
- Confirm that size of mmcblk0 is close to size of the microSD card, and all lines starting with mmcblk0 have empty "MOUNTPOINT" column.
- now type this:
sudo dd if=`ls` of=/dev/mmcblk0 bs=1M status=progress
- It will take some time, depending on speed of your microSD card and size of image file
- Now, reboot your PineTab - type this into terminal:
sudo reboot
- PineTab should boot from the microSD you've just flashed
Tips and tricks
Reset
If your PineTab is in unknown state or doesn't want to start: Press power button for 7-8s. It makes a sound and you know it's totally off. 3 seconds after, power button again for 2-3s and it will start to boot.
Power Off While Charging
When plugging your Pinetab into a charger, it automatically powers on. Use the above "Reset" instruction (holding the power button in for several seconds) to turn it off. This will allow your Pinetab to charge without being powered on.
Display rotated 90° on Arch ARM
With the following command you can turn the display to landscape:
- echo 1 | sudo tee /sys/class/graphics/fbcon/rotate
This command does not persist a reboot.
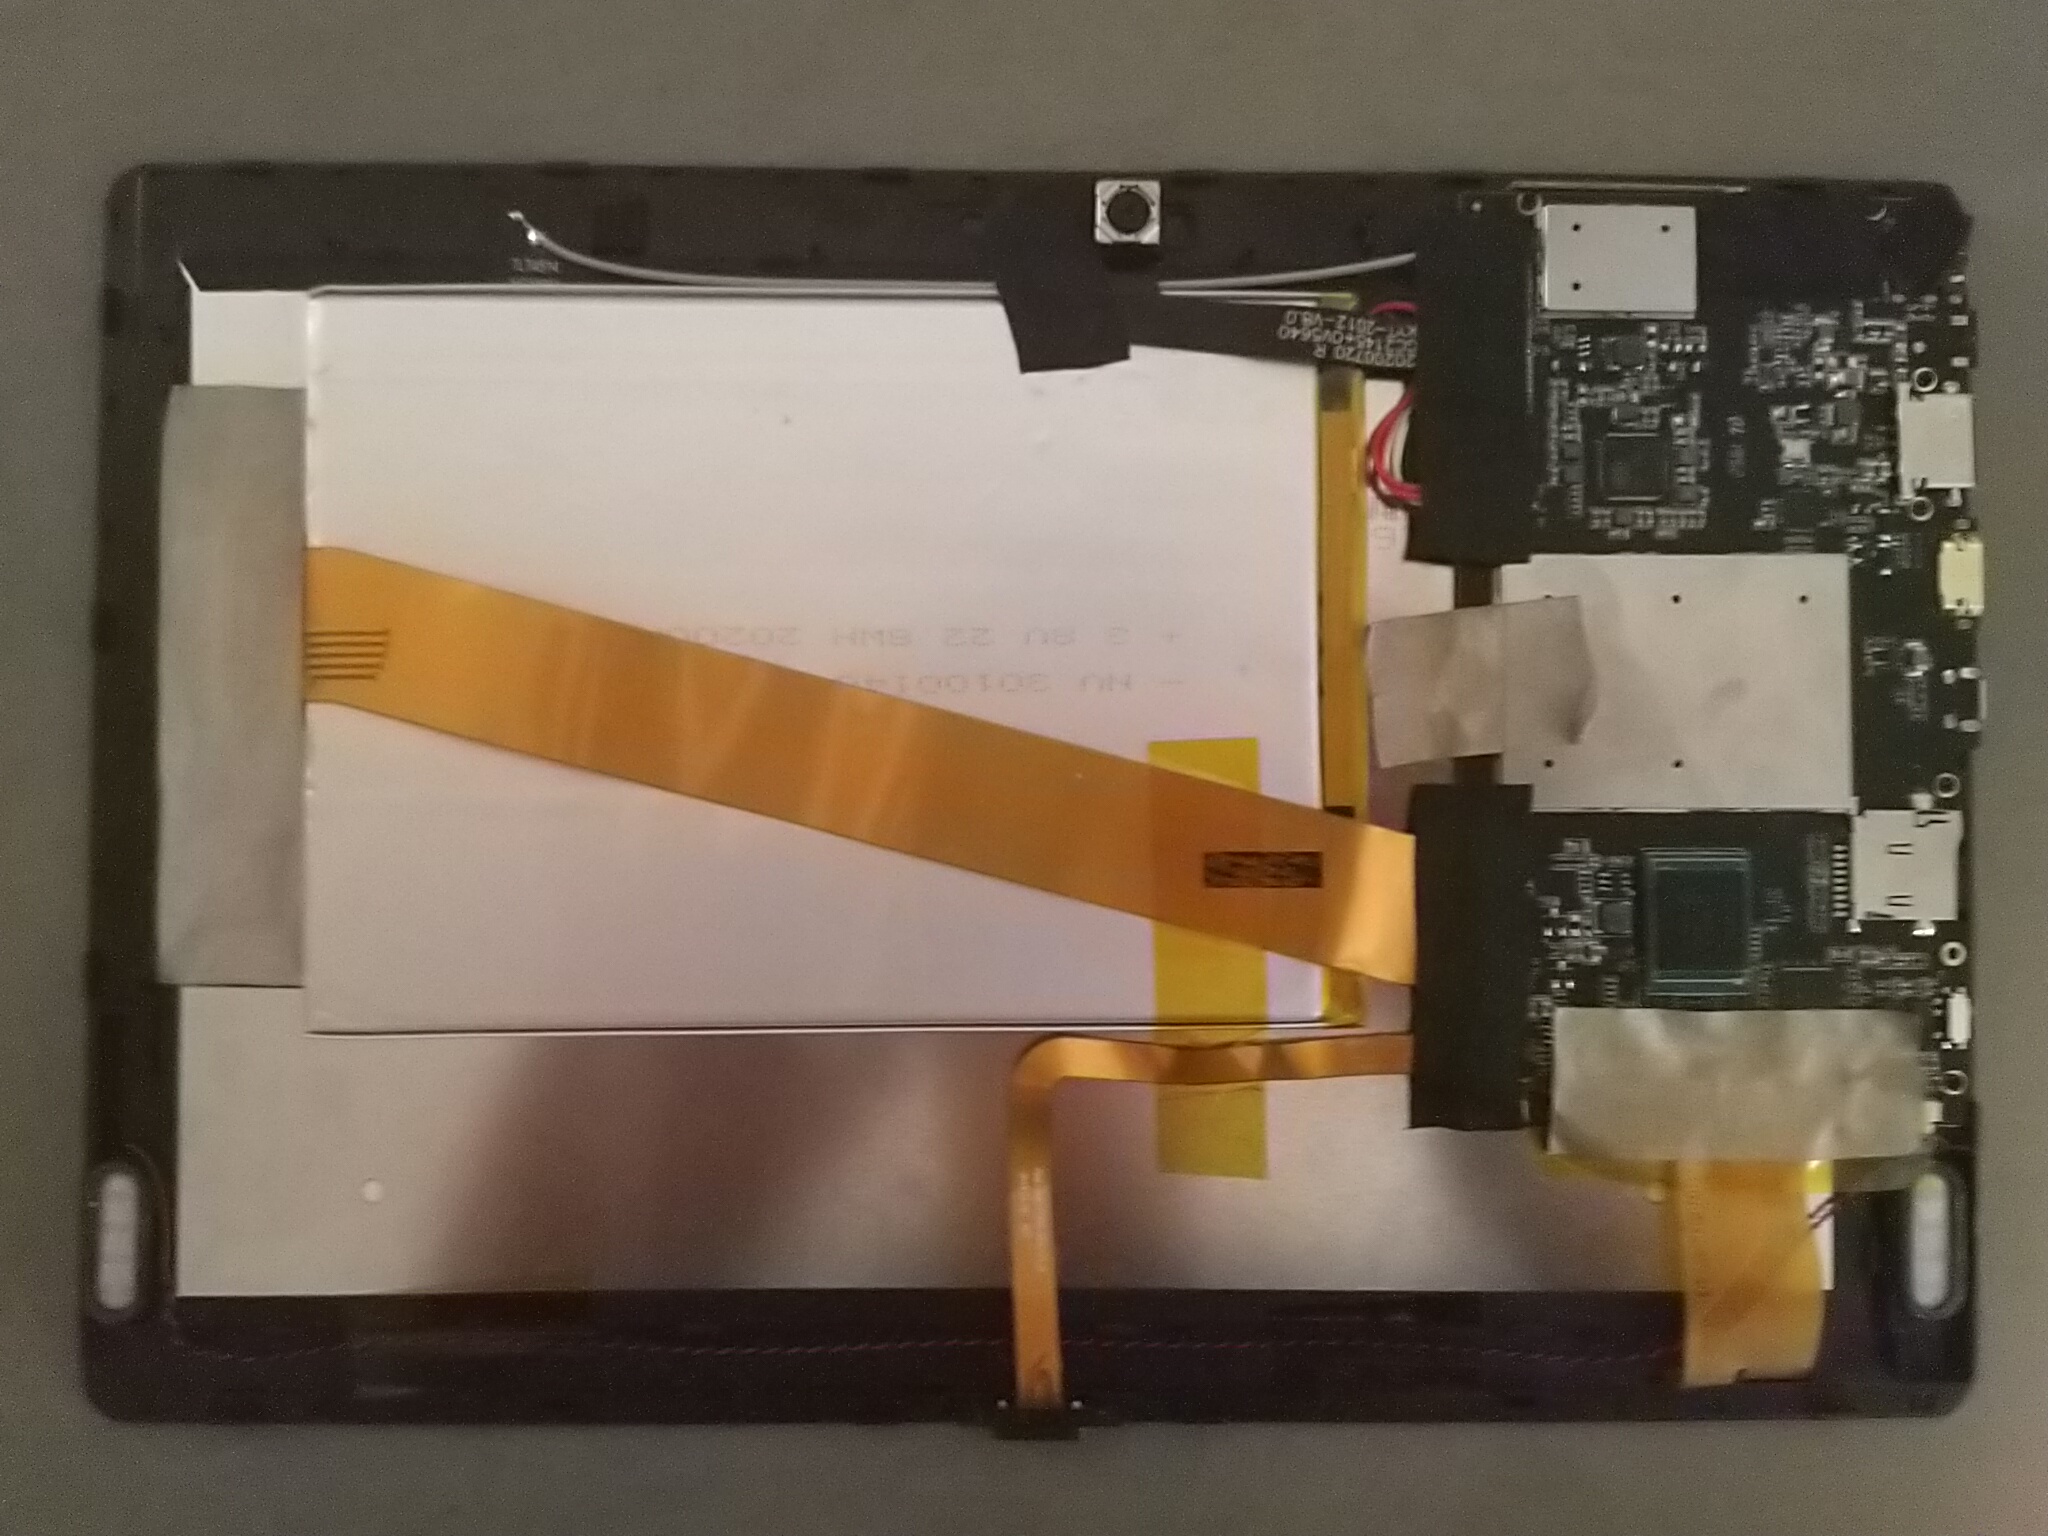
Opening Pinetab
Be very careful here. It is not a 'pop off' cover design. Special care should be directed to AVOID anything that may appear to cause a "bend" in screen.
Gently use fingernails (or if you have one, plastic pry), starting in the very middle location for each side (saving keyboard connector latch over area (bottom side) for the very last removal step).
Work your way from the inner middle on each side, slowly. Slide gently towards the direction of each corner (saving the lifting of actual corners themselves for the second to last step)). Careful not to break thin speaker wires that line the outside of the inner case.
The very last opening piece should be the "latch over" (where the keyboard pins connect).
KEEP IN MIND: The main key here is to avoid any potential "bend" of the screen. We save the corners until after working on the middle of each side to reduce pressure on the screen.
Do not force anything. If it is not coming off with gentle effort, you are likely doing something wrong (try another side middle).


