Difference between revisions of "Pinecil"
Jump to navigation
Jump to search
(→Firmware Image Releases: Added new IronOS links) |
(→Pictures: Added an overall description at the beginning) |
||
| Line 1: | Line 1: | ||
PAGE UNDER CONSTRUCTION, INFO SUBJECT TO CHANGE | PAGE UNDER CONSTRUCTION, INFO SUBJECT TO CHANGE | ||
== Overall description == | |||
The Pinecil is a portable, temperature controlled soldering iron. It's main features are: | |||
* Portability | |||
* Settable temperature | |||
* Soldering tips: | |||
** Replaceable | |||
** More than half a dozen available. Currently sold as 2 separate sets of 4, one fine set the other larger. | |||
** Compatible with TS100 | |||
* Flexible power sources: | |||
** Barrel jack | |||
** USB Type C power delivery | |||
There are additional features that include: | |||
* Programmable via embedded processor | |||
* Display that can have items like temperature | |||
* Idle detection, for automatic power down of tip | |||
== Pictures == | == Pictures == | ||
* Pinecil Renders: | * Pinecil Renders: | ||
Revision as of 15:16, 31 December 2020
PAGE UNDER CONSTRUCTION, INFO SUBJECT TO CHANGE
Overall description
The Pinecil is a portable, temperature controlled soldering iron. It's main features are:
- Portability
- Settable temperature
- Soldering tips:
- Replaceable
- More than half a dozen available. Currently sold as 2 separate sets of 4, one fine set the other larger.
- Compatible with TS100
- Flexible power sources:
- Barrel jack
- USB Type C power delivery
There are additional features that include:
- Programmable via embedded processor
- Display that can have items like temperature
- Idle detection, for automatic power down of tip
Pictures
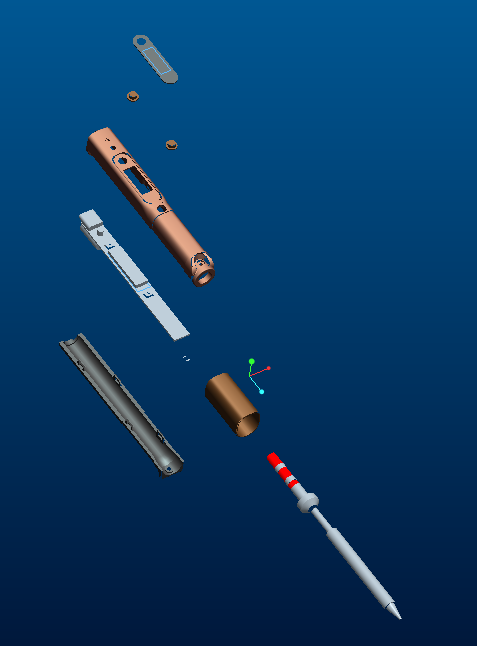
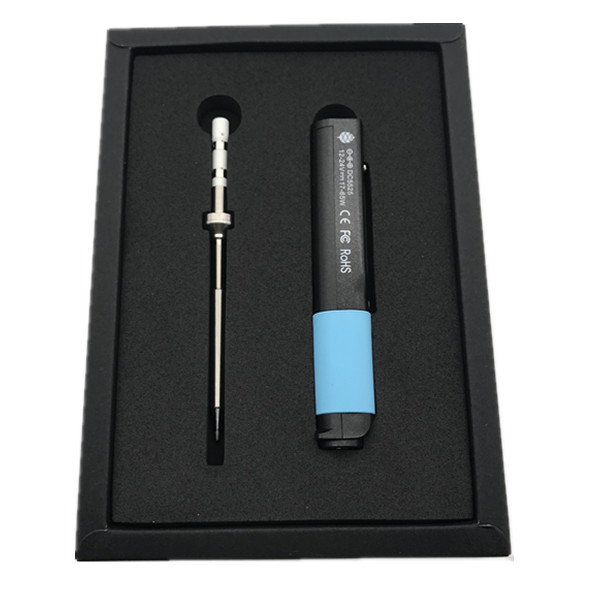
- Pinecil Renders:
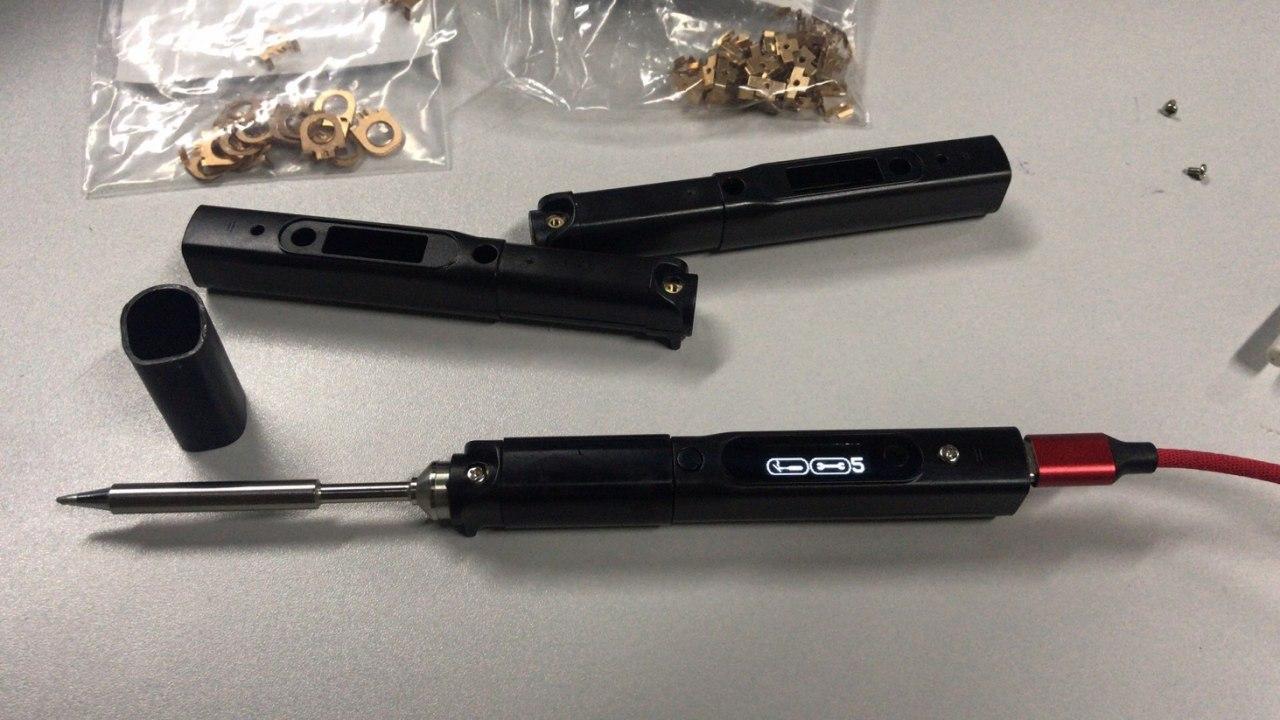
- Pinecil Prototype:
Specifications
- Dimensions: 170mm with solder tip or 98mm without solder tip x 12.8mm x 16.2mm
- Weight: 30g with solder tip, 20g without solder tip
- CPU: GD32VF103TB 32-bit RV32IMAC RISC-V “Bumblebee Core” @ 108 MHz
- Memory:
- 128KB Flash
- 32KB SRAM
- DC in (only one of the following at a time):
- 12V- 24V DC5525 Barrel Jack
- USB-C 12-20V PD
- QC3.0
- Recommend operating voltage 12-21V, maximum rating at 24V
Pinecil board information, schematics and certifications
- Pinecil mainboard schematic:
- Pinecil mainboard schematic ver 1.0 20201120, this is production version schematic
- Pinecil mainboard ver 1.0 PCB Component Placement Top PDF file
- Pinecil mainboard ver 1.0 PCB Component Placement Bottom PDF file
- Pinecil mainboard ver 1.0 PCB Component Placement Top Drawing file
- Pinecil mainboard ver 1.0 PCB Component Placement Bottom Drawing file
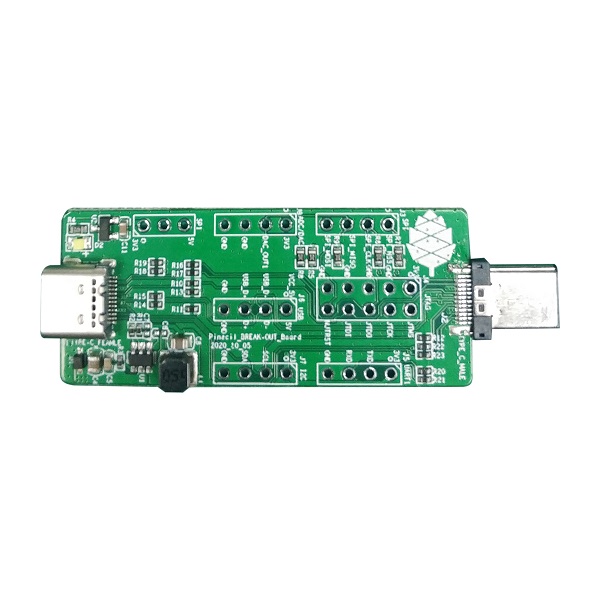
- Pinecil breakout board schematic:
- Pinecil certifications:
Firmware Image Releases
Links to development firmware and documentation:
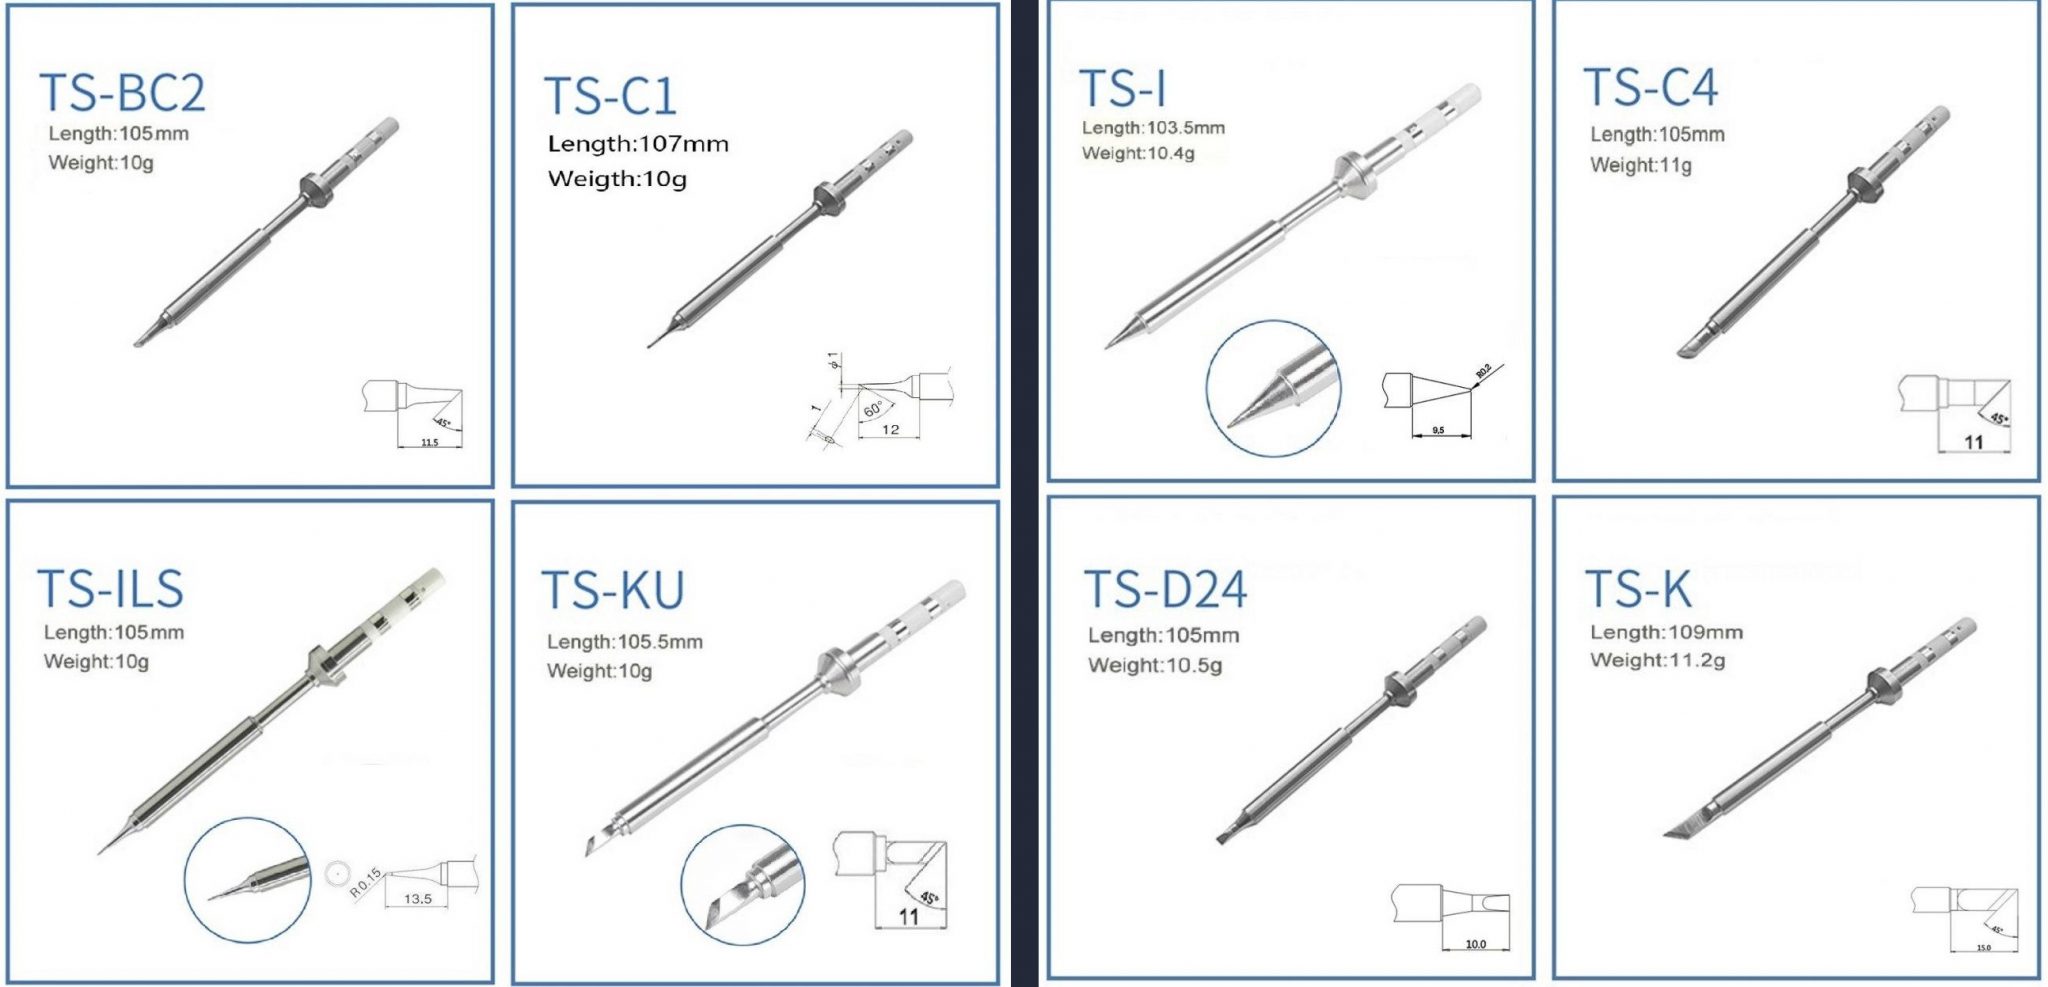
Pinecil tips
- Default tip model TS-B2 accompany with Pinecil
- Uses TS-100 compatible tips
Datasheets for components and peripherals
- GigaDevice RISC-V SoC information:
- Display Module information:
- USB Type-C PD Controller information:
- Sensor information:
- Power Regulator information:
- Power MOSFET Switch information:
- OP Amp information:
Development efforts
| Project Homepage | Project Source | Implementations | |
|---|---|---|---|
| Ralimtek | https://ralimtek.com | https://www.gitmemory.com/Ralim |
How to update a firmware
(Method tested on Linux, should work on any OS where dfu-util works, instructions assumes you have dfu-util 0.9)
Warning: This potentially can brick your device. Do on your own risk!
If
dfu-util command cannot find a device with 28e9:0189 ID, try to run it with sudo- Enter an update mode. For that plug USB cable while holding *-* button (button, that's closest to USB-C port)
- Make a firmware backup:
dfu-util -d 28e9:0189 -a 0 -U ~/pinecil/internal.flash.stock -s 0x0800000028e9:0189-- USB Device ID (can be obtained fromlsusbordfu-util -lbut in dfu-util output it might be hard to identify the Pinecil device)-a 0-- selects partition to flash. List of possible options can be obtained viadfu-util -l. Partition 0 - internal SPI flash. Partition 1 - fuses (description of fuses can be found in User Manual for the chip)-U-- specifies a mode. U is upload, which means that firmware will be downloaded and saved to file (yes, that's confusing, but it is what it is, feel free to verify that in a manual of your version of dfu-util). Command must be followed by a path to file where you want to save your firmware. dfu-util will refuse to dump firmware if you already have a file with that name.-s 0x08000000-- specify the address in a flash from which dump will start. This can be obtained fromdfu-util -l.
- Flash a new firmware:
dfu-util -d 28e9:0189 -a 0 -D ~/pinecil/internal.flash.stock -s 0x08000000:mass-erase:force-D-- is a mode to Download firmware to the device (yes, that's confusing, but you indeed Upload from device and Download to device with dfu-util). That should follow the file with the firmware Same stock one from (1) used here on purpose.-s 0x08000000:mass-erase:force-- specified the address where to flash the file.:mass-erase:forceis required to force-erase flash before updating firmware, otherwise you might have unpredictable results.
Disassembly steps
- Remove tip if present.
- Let tip cool down.
- Loosen top (display side) screw (PH1) on the tip side of the device.
- Gently pull tip out.
- Slide rubber off towards the tip side.
- Remove the ground screw (longer screw on the top side towards the port side) (PH1).
- Remove the bottom screw (at the tip side, between the legs) (PH1).
- Slightly pull the two halves of the case apart at the tip side, enough to get a fingernail or guitar pick between the halves.
- Move the pick down the length of the split to loosen the bottom half's clips from the top half of the case.
- Once loose, remove the bottom half by moving it forward (it is retained by the top half at the port side).
- Remove the screws retaining the copper tip contacts (PH000).
- Remove the now loose copper tip contacts.
- Gently push the board towards the tip side by pushing on one of the ports (for example, by using a misaligned USB C connector).
- The PCB assembly is now free to be lifted out.
- The key caps are now no longer retained, carefully set aside the top half, or remove the caps and store them separately.
Assembly steps
- Place the key caps into their recesses in the top half of the case.
- Place the PCB assembly into the top half of the case ports first.
- Lower the rest of the board into the case and move the PCB assembly towards the port side of the case (the DC barrel connector may be a firm place to gently push).
- Install the copper tip contacts.
- Orient the contact to align the alignment pin with the alignment hole next to the big hole on one of the big gold pads.
- Install and gently tighten the PH000 screw until the clip is no longer loose.
- Place the bottom half of the case into the top half by sliding the lip on the port side (side without the feet) of the bottom half under the arch of the port side of the top half.
- Gently close the case by bringing the two halves together, paying attention to each clip's alignment and ensuring the case edges align.
- Install the short PH1 screw at the bottom of the tip side of the case.
- Install the longer PH1 screw at the ground connection point at the top side of the case (between the display and the ports).
- Slide the rubber sleeve on (larger ridge first).
- Gently insert tip.
- Gently tighten the top PH1 screw to retain the tip.
